
Introduction to Red Velvet Cupcakes
The allure of red velvet: Why it’s a favorite
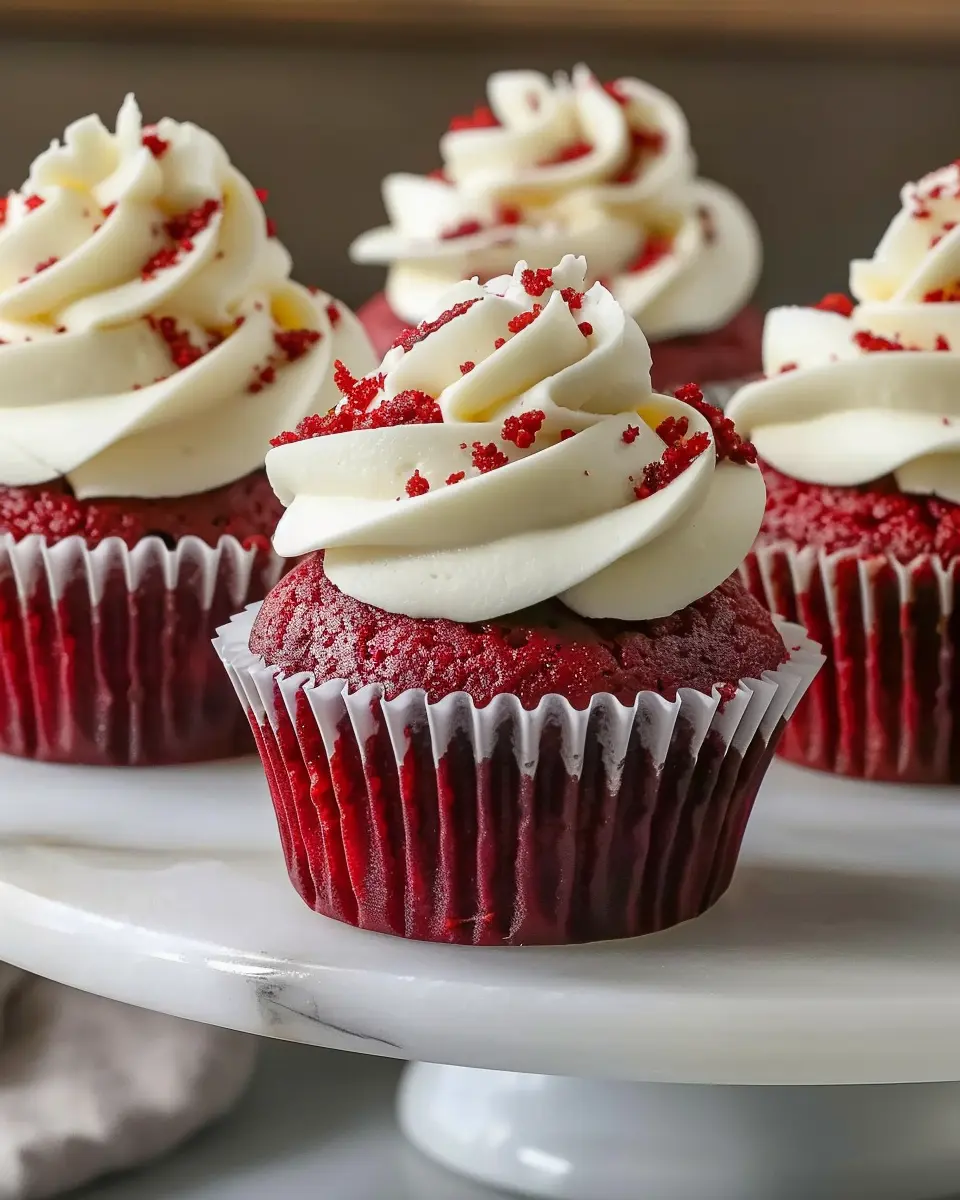
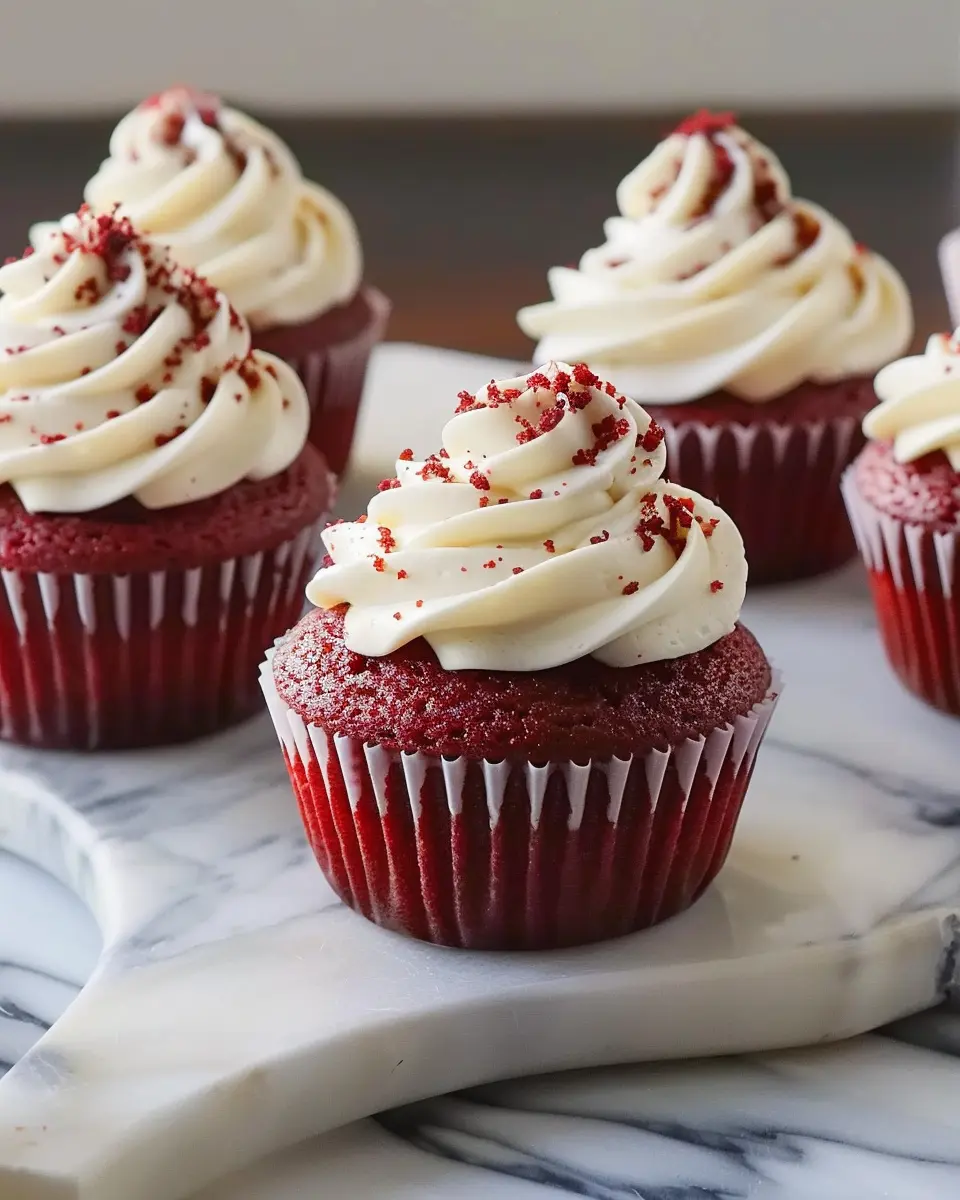
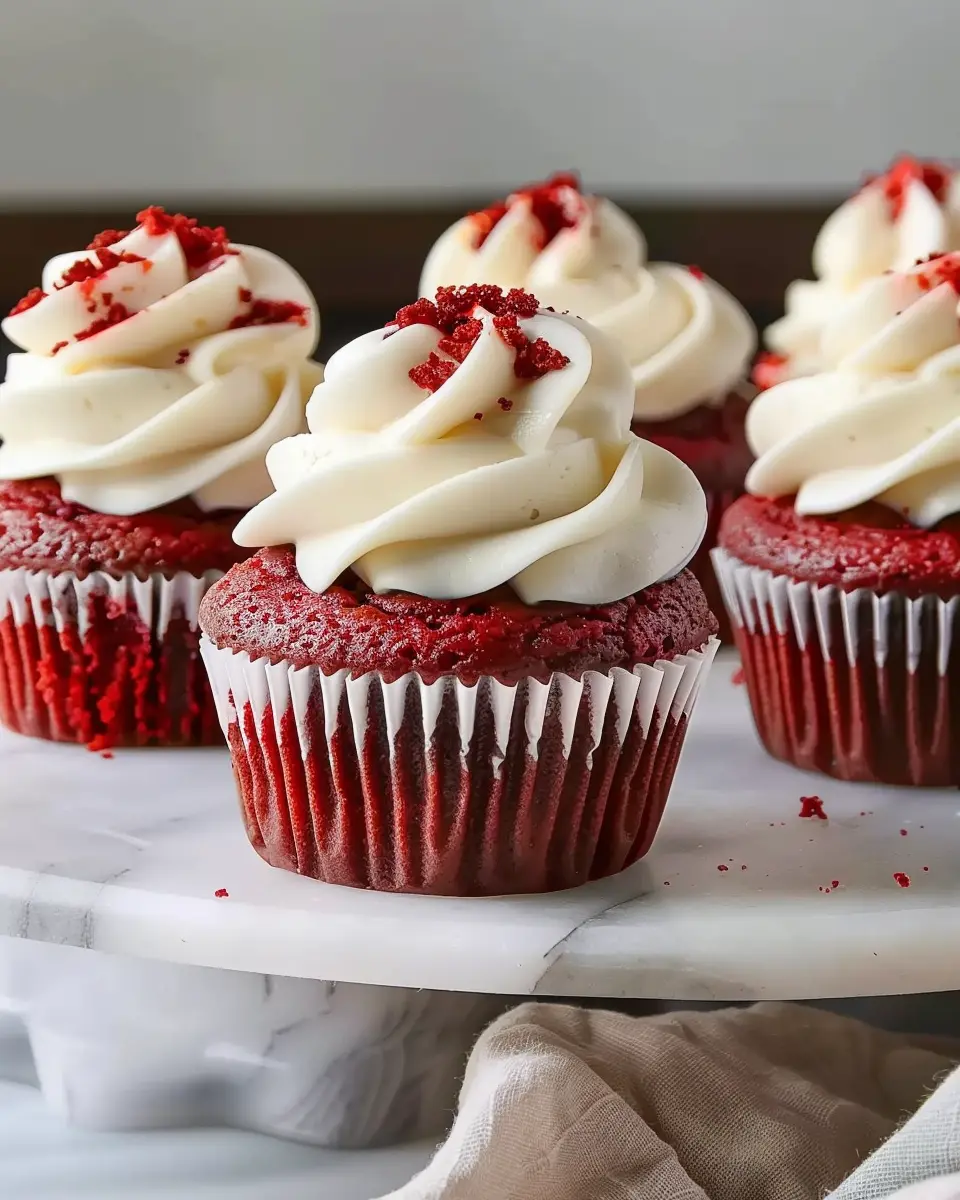
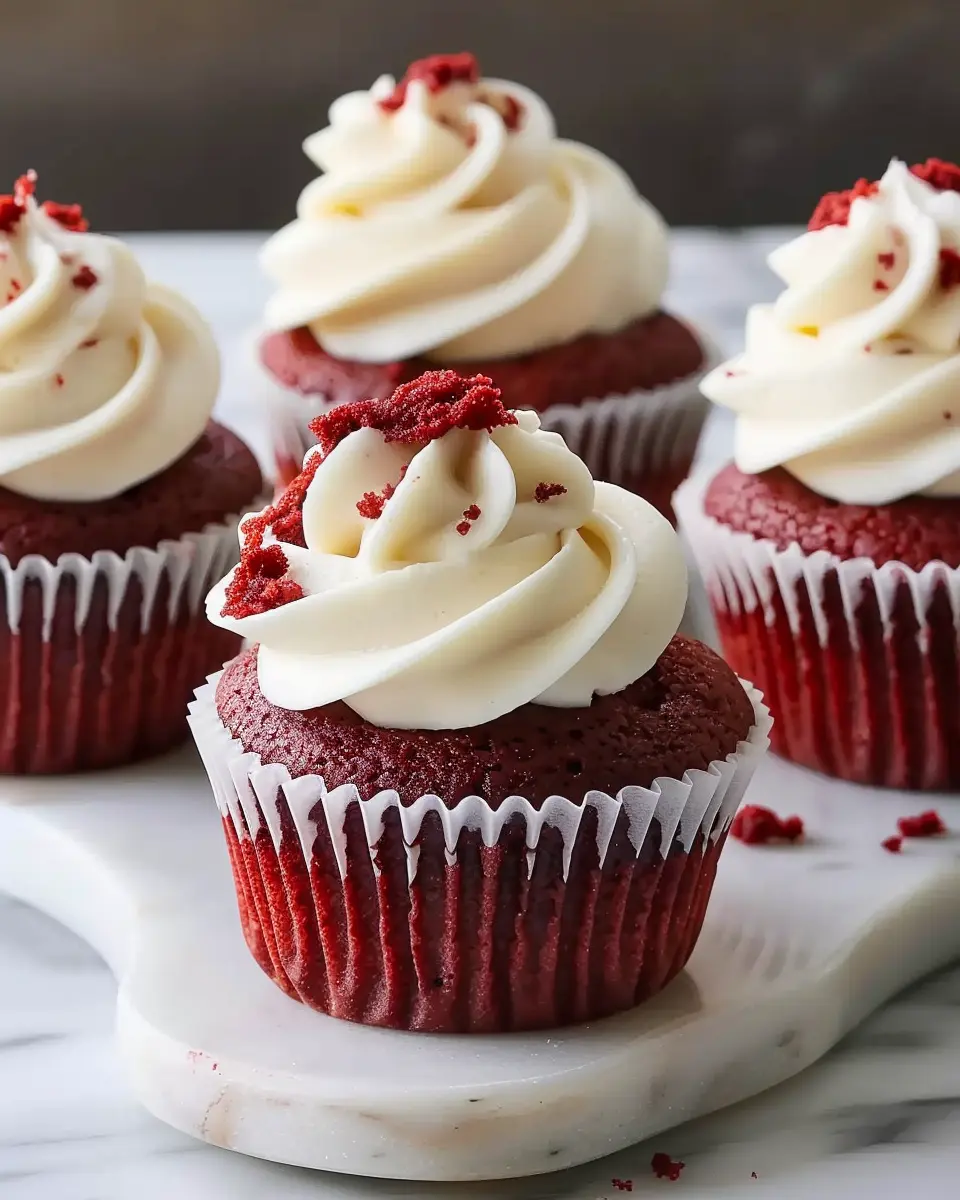
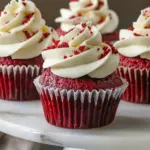
Red velvet cupcakes have a way of turning the ordinary into the extraordinary. With their vibrant red hue contrasted against a fluffy cream cheese frosting, they bring a touch of glamour to any gathering. But what makes these delightful treats so beloved? Let’s dive into the magic of red velvet cupcakes.
At first glance, the striking color garners attention, evoking curiosity and delight. The rich history of red velvet dates back to the early 20th century, initially popularized as a cake, but it quickly adapted into the beloved cupcake form we know today. Its origins, often debated, seem to include a delightful blend of cocoa, buttermilk, and a hint of vinegar, creating that signature flavor profile.
One reason these cupcakes have become a staple in both bakeries and home kitchens is their unique taste experience. The mild chocolate flavor combined with tangy buttermilk creates an exquisite balance that is distinct yet familiar. (For more on the science of baking, check out this insightful piece from Serious Eats.) Moreover, the slight acidity helps achieve that moist, velvety texture that makes each bite a pleasure.
Additionally, red velvet cupcakes represent celebration in more ways than one. Whether it’s a birthday, a wedding, or just a gathering with friends, these cupcakes are often the star of the dessert table. Imagine biting into one, the cream cheese frosting melting in your mouth and your taste buds dancing with joy—it’s a memory most people cherish.
So why not be the first among your friends to become a red velvet cupcake connoisseur? With their impressive appearance and delicious flavor, you’ll surely impress your guests and find yourself beckoned back to the kitchen time and time again.
In the sections to follow, I’ll guide you through an easy yet delightful recipe for crafting your own red velvet cupcakes. Get ready to indulge in a baking adventure that’s sure to make your taste buds sing!
Ingredients for Red Velvet Cupcakes
When you’re ready to whip up some delightful red velvet cupcakes, having the right ingredients is essential to achieve that classic flavor and stunning presentation. Let’s dive into the must-haves for both the cake and the frosting.
Essential ingredients for the cake
To create the perfect red velvet cupcakes, stock up on these key ingredients:
- All-purpose flour: This forms the backbone of your cupcake.
- Granulated sugar: For that essential sweetness, you can’t skip this!
- Cocoa powder: Just a hint to enhance the color and flavor.
- Baking soda and salt: These leavening agents ensure your cupcakes rise beautifully.
- Vegetable oil: Keeps your cupcakes moist and tender.
- Buttermilk: Adds that signature tanginess to your red velvet cupcakes.
- Eggs: Essential for binding all the ingredients together.
- Red food coloring: The star of the show!
Feeling adventurous? Check out this baking tips guide for additional ingredient insights!
Must-have ingredients for the frosting
Now, let’s not forget about the luscious frosting that blankets your red velvet cupcakes. Here’s what you need:
- Cream cheese: Provides that creamy, tangy flavor that pairs perfectly with the cake.
- Unsalted butter: For richness and smooth texture.
- Powdered sugar: Sweetens and gives that velvety finish.
- Vanilla extract: A touch of flavor to elevate your frosting.
Once you have these ingredients, you’re well on your way to baking these irresistible red velvet cupcakes. Happy baking!
Step-by-Step Preparation of Red Velvet Cupcakes
Creating the perfect red velvet cupcakes is a delightful journey that rewards you with moist, flavorful treats. They are not just visually stunning but also burst with a rich, inviting taste. Ready to impress your friends or treat yourself? Let’s jump into the preparation!
Gather and prepare your ingredients
Before diving into the mixing bowl, it’s essential to collect all your ingredients. Here’s what you’ll need for about 12 cupcakes:
- 1 ½ cups all-purpose flour
- 1 cup granulated sugar
- 1 teaspoon baking soda
- 1 teaspoon cocoa powder
- ½ teaspoon salt
- 1 cup vegetable oil
- 1 cup buttermilk (you can make a quick substitute by mixing regular milk with vinegar)
- 2 large eggs
- 2 tablespoons red food coloring
- 1 teaspoon vanilla extract
- 1 teaspoon white vinegar
Having everything at hand will streamline the process and ensure you don’t miss any key elements while you multitask in the kitchen!
Combine dry ingredients for the perfect texture
In a medium bowl, start by sifting together the dry ingredients: flour, sugar, baking soda, cocoa powder, and salt. Sifting not only breaks up clumps but also aerates the mixture, giving your red velvet cupcakes a light and fluffy texture. This process is key to achieving that melt-in-your-mouth consistency.
Once combined, set the dry mixture aside and allow it to mingle with the thought of how incredible your cupcakes will taste!
Create a fluffy batter with your wet ingredients
Now it’s time to tackle the wet ingredients. In a separate large mixing bowl, combine the vegetable oil, buttermilk, eggs, food coloring, vanilla extract, and white vinegar. Using an electric mixer, beat the mixture until fully blended; this should take about 2 minutes. The vibrant red color should start to emerge, setting the stage for these decadent cupcakes.
After the wet ingredients are light and fluffy, gradually add your dry mixture to the bowl. Mix just until combined – overmixing can lead to denser cupcakes (and nobody likes that!).
Fill your muffin cups with care
Grab your muffin tin and line it with paper cupcake liners, or spray with non-stick cooking spray. Use an ice cream scoop or a measuring cup to fill each liner about two-thirds full. This helps ensure even baking and allows room for the cupcakes to rise without spilling over the edges.
Bake to perfection
Preheat your oven to 350°F (about 175°C). Place your filled muffin tin in the oven and bake for 18 to 20 minutes. The best way to check for doneness is to insert a toothpick into the center of a cupcake; if it comes out clean or with just a few crumbs, your red velvet cupcakes are ready. Keep an eye on them, as every oven is different!
Cool and prepare for frosting
After baking, remove the cupcakes from the oven and let them cool in the tin for about 5 minutes. Then transfer them to a wire rack to cool completely. This step is crucial because frosting warm cupcakes can cause your frosting to melt away—definitely not what you want after all this effort!
Make the creamy frosting
To complement your red velvet cupcakes, let’s whip up a dreamy cream cheese frosting. You’ll need:
- 8 oz cream cheese (softened)
- ½ cup unsalted butter (softened)
- 4 cups powdered sugar
- 1 teaspoon vanilla extract
In a mixing bowl, beat the cream cheese and butter until smooth. Gradually add the powdered sugar, mixing on low speed until everything is well integrated. Add in the vanilla extract and increase your mixer speed; whip it until the frosting is light and fluffy.
Frost those beautiful cupcakes
Once the cupcakes are completely cool, it’s time to let your creativity shine! Use a piping bag for a beautiful swirl or simply spread the frosting generously with a knife. If you’re feeling adventurous, top them off with sprinkles or pecans for a fun twist.
Enjoy your homemade red velvet cupcakes—they’re perfect for sharing, special occasions, or just because you deserve a treat today! For more inspiration, check out some of these baking tips or frosting ideas to make your cupcakes even more special. Happy baking!
Flavor Variations on Red Velvet Cupcakes
When it comes to red velvet cupcakes, there’s a world of flavor possibilities just waiting to be explored! Whether you’re baking for a special occasion or just because you love cupcakes, these variations can add a delightful twist to your classic recipe.
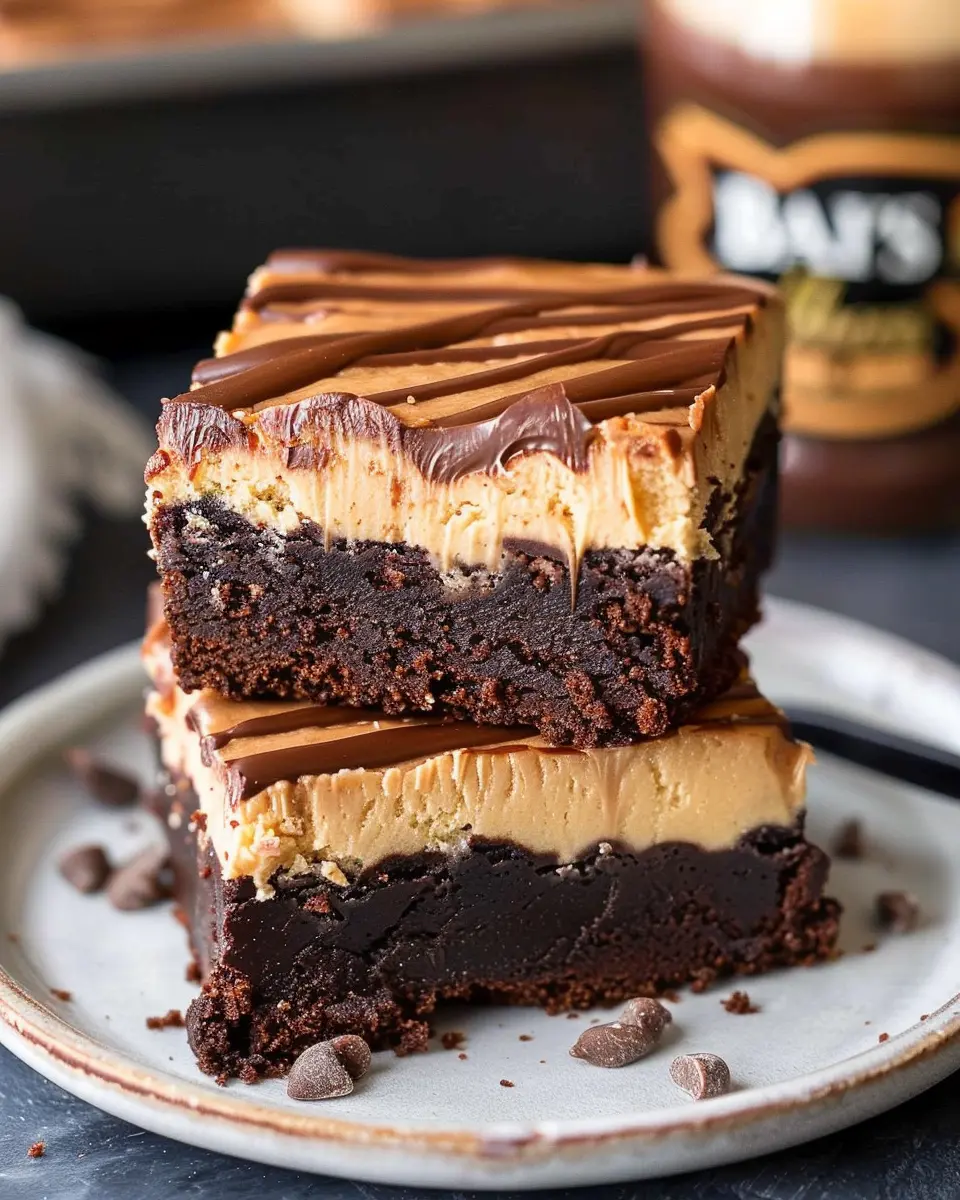
Adding a Twist with Chocolate Chips
One of the easiest ways to enhance your red velvet cupcakes is by mixing in some semi-sweet chocolate chips. The combination of rich chocolate and the subtle cocoa flavor in red velvet is heavenly! Just fold in about a cup of chocolate chips into your batter before baking. Not only do they melt slightly during baking, creating a gooey surprise, but they also add an extra layer of flavor that complements the cupcake’s beautiful red hue.
Experimenting with Different Frosting Flavors
While traditional cream cheese frosting is a classic pairing with red velvet cupcakes, branching out can turn your treats into a personal masterpiece. Why not try:
- Vanilla Bean Frosting: This light and fluffy option harmonizes beautifully with the richness of red velvet.
- Chocolate Ganache: A silky chocolate topping can elevate your cupcakes to gourmet status.
- Peppermint Frosting: Perfect for the holidays, a minty twist brings a refreshing zing.
Curious about frosting techniques? Check out this frosting guide for pro tips on how to create those picture-perfect swirls.
With these variations, your red velvet cupcakes won’t just be delicious; they’ll be remembered! So, go ahead—experiment and find your signature twist!
Baking Notes for Red Velvet Cupcakes
The Importance of Ingredient Temperature
When crafting your red velvet cupcakes, the temperature of your ingredients can significantly impact the final product. Room temperature butter and eggs blend more easily, creating a smoother batter with better aeration. This results in cupcakes that are light and fluffy. Aim for an optimal temperature of around 70°F (21°C) for your butter and eggs. It may seem trivial, but this step can elevate your baking game!
Avoiding Common Baking Pitfalls
Baking is as much a science as it is an art. Here are some pitfalls to avoid to ensure your red velvet cupcakes turn out perfectly:
- Don’t Overmix: Once you combine your wet and dry ingredients, mix just until incorporated to keep the cupcakes tender.
- Measure Accurately: Use the spoon and level method for flour to avoid dense cupcakes. You can read more about proper measuring techniques here to ensure your accuracy.
- Check Your Oven Temperature: Invest in an oven thermometer. An oven that’s too hot can lead to dry cupcakes, while one that’s too cool may not bake them properly.
These tips will help you create deliciously moist and scrumptious cupcakes every time!
Serving Suggestions for Red Velvet Cupcakes
Perfect pairings for your cupcakes
When it comes to red velvet cupcakes, the right accompaniments can elevate your dessert to the next level. Consider pairing your cupcakes with:
- Cream Cheese Frosting: A classic choice that enhances the rich cocoa flavor.
- Fresh Berries: Strawberries or raspberries add a refreshing tartness that balances the sweetness.
- Coffee: A warm cup of coffee or a creamy latte can perfectly complement the decadent taste.
For a complete experience, why not serve your red velvet cupcakes at a cozy gathering with friends or family? Preparing a hot chocolate bar with toppings like marshmallows and chocolate shavings can create a delightful pairing.
Creative presentation ideas
Presenting your red velvet cupcakes beautifully can impress your guests. Here are some fun ideas:
- Tiered Cake Stand: Stack your cupcakes on a decorative stand for an eye-catching display.
- Cupcake Liners: Use festive or patterned liners to add a pop of color.
- Garnishes: Top with a sprinkle of edible gold dust or place a fresh mint leaf for a touch of elegance.
These simple presentation tips can make your homemade desserts feel like gourmet treats. Don’t forget to share your creations on social media to inspire fellow bakers—your delightful red velvet cupcakes deserve the spotlight!
Time Breakdown for Red Velvet Cupcakes
When you’re in the mood for delightful red velvet cupcakes, knowing your time commitment can help you plan your baking session efficiently. Here’s a quick breakdown:
Preparation Time
Getting your ingredients ready and mixing everything together takes about 20 minutes. This is your chance to embrace the rich color and scents that come with making red velvet goodness!
Baking Time
Once your batter is ready, pop those cupcakes into the oven for about 18-20 minutes. You’ll want to check for doneness with a toothpick—just like a pro!
Cooling Time
After baking, let your cupcakes cool for about 15 minutes in the pan, then transfer them to a wire rack. This ensures they maintain their lovely texture while cooling down completely.
Total Time
In total, you’re looking at around 55 minutes from start to finish. Perfect for a cozy afternoon baking session or to impress friends at your next gathering!
For more tips on baking essentials, check out sources like King Arthur Baking and The Spruce Eats to elevate your baking game!
Nutritional Facts for Red Velvet Cupcakes
Calories Per Cupcake
When indulging in a delightful red velvet cupcake, it’s helpful to know that each cupcake typically contains around 350 calories. This figure can vary depending on your specific recipe variations and frosting choices, so be mindful of those delicious toppings!
Key Nutrients: Protein, Carbs, and Sugar
Red velvet cupcakes are not just a treat for the eyes; they carry essential nutrients too! Here’s a quick breakdown:
- Protein: Approximately 3 grams, useful for muscle repair and overall health.
- Carbohydrates: Roughly 45 grams, providing the energy that keeps you going.
- Sugar: About 25 grams, giving that sweet, classic flavor we love.
For a deeper dive into the nutritional benefits of your favorite dessert, consider exploring resources like the USDA Food Data Central which offers a comprehensive database on various ingredients.
There’s something magical about baking red velvet cupcakes that lifts your spirits, right? Whether it’s for a celebration or just because, being mindful of their nutritional content makes every bite a little sweeter.
FAQs about Red Velvet Cupcakes
What gives red velvet cupcakes their color?
The deep red hue in red velvet cupcakes originally came from the reaction between cocoa powder and acidic ingredients like buttermilk or vinegar. Today, most recipes use food coloring to achieve that vibrant red look more consistently. You can experiment with natural colorants, such as beet juice or pomegranate, if you prefer a more natural approach. Just remember, the depth of color can affect the final look, but the taste remains delicious!
Can you make red velvet cupcakes gluten-free?
Absolutely! Making gluten-free red velvet cupcakes is easier than you think. Substitute all-purpose flour with a gluten-free baking mix. Many mixes are designed to mimic the texture of traditional flour quite closely, ensuring that your cupcakes come out just as moist and flavorful. Be sure to check for other gluten-containing ingredients in any frostings or additional toppings you consider.
How should I store leftover cupcakes?
To keep your red velvet cupcakes fresh, it’s best to store them in an airtight container at room temperature for up to three days. If you want to enjoy them for longer, consider refrigerating them, but allow them to come to room temperature before serving for the best flavor. For even longer storage, you can freeze them—just wrap each cupcake in plastic wrap and place them in a freezer bag. They can last up to three months this way!
If you’re looking for additional tips on baking or frosting techniques, check out this baking guide to expand your cupcake-planning repertoire!
Conclusion on Red Velvet Cupcakes
When it comes to baking, nothing quite compares to the joy of homemade treats, especially red velvet cupcakes. Crafting them in your own kitchen allows you to control every ingredient, ensuring a fresher taste and a cozy aroma that fills your home. Plus, there’s something special about sharing your creations with friends and family, sparking joy and warm memories at gatherings.
Next time you’re craving a delicious dessert, consider whipping up a batch of these mouthwatering cupcakes. For more tips on ingredients and flavor pairings, check out resources like Joy of Baking or Serious Eats. Happy baking!
PrintRed Velvet Cupcakes: The Best Indulgent Treat for Home Baking
Indulge in the rich and delicious flavor of red velvet cupcakes with this easy homemade recipe.
- Prep Time: 15 minutes
- Cook Time: 25 minutes
- Total Time: 40 minutes
- Yield: 12 cupcakes
- Category: Dessert
- Method: Baking
- Cuisine: American
- Diet: Vegetarian
Ingredients
- 2 cups all-purpose flour
- 1 ½ cups granulated sugar
- 1 teaspoon baking soda
- 1 teaspoon salt
- 1 teaspoon cocoa powder
- 1 ½ cups vegetable oil
- 1 cup buttermilk, room temperature
- 2 large eggs, room temperature
- 2 tablespoons red food coloring
- 1 teaspoon vanilla extract
- 1 teaspoon white vinegar
Instructions
- Preheat the oven to 350°F (175°C) and line a cupcake tray with paper liners.
- In a bowl, mix the dry ingredients: flour, baking soda, salt, cocoa powder, and sugar.
- In another bowl, whisk together the wet ingredients: oil, buttermilk, eggs, food coloring, vanilla extract, and vinegar.
- Combine the wet ingredients with the dry ingredients until just mixed.
- Fill the cupcake liners two-thirds full with batter.
- Bake in preheated oven for 20-25 minutes, or until a toothpick comes out clean.
- Let cool before frosting.
Notes
- For best results, use room temperature ingredients.
- Pairs perfectly with cream cheese frosting.
Nutrition
- Serving Size: 1 cupcake
- Calories: 220
- Sugar: 18g
- Sodium: 220mg
- Fat: 10g
- Saturated Fat: 1.5g
- Unsaturated Fat: 8g
- Trans Fat: 0g
- Carbohydrates: 32g
- Fiber: 1g
- Protein: 2g
- Cholesterol: 30mg
")