
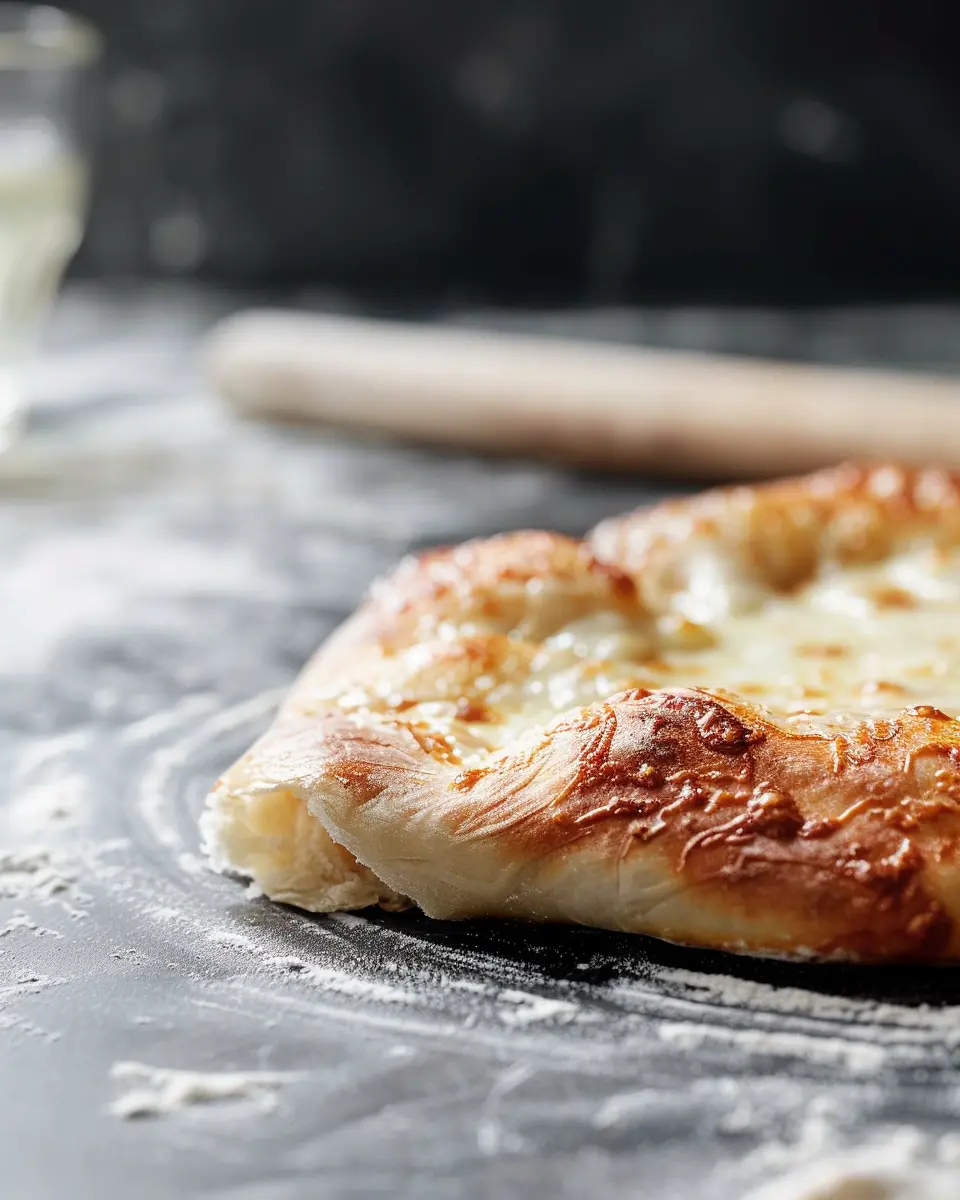
Introduction to Artisan Pizza Dough
Homemade pizza is more than just a meal; it’s an experience, especially for young professionals juggling busy schedules. With the right recipe, you can whip up delicious artisan pizza dough that not only impresses your friends but also offers a fun, engaging way to unwind and express your creativity in the kitchen.
Why Homemade Pizza is a Game-Changer for Young Professionals
When life gets hectic, it’s easy to reach for last-minute takeout. But have you ever considered the benefits of making your own pizza from scratch? Here are a few reasons why embracing artisan pizza dough might just be a game-changer for you:
-
Customization: One of the best parts of making your own pizza is the ability to tailor it to your preferences. Want to load up on veggies? Go for it! Craving some creamy mozzarella and Turkey Bacon? The choice is yours! This level of personalization is unmatched by any store-bought pizza.
-
Cost-Effective: Making your own pizza is often cheaper than dining out or ordering in. With a little flour, yeast, water, and seasoning—basic staples that you likely already have on hand—you can create several personal-sized pizzas at a fraction of the cost. Fresh ingredients, tailored toppings, and a good recipe can save you a bundle over racking up delivery fees week after week.
-
Healthier Options: By making your own dough and selecting quality toppings, you can control what goes into your meal. Skip the processed meats and heavy sauces, and opt for fresh veggies, lean proteins like Chicken Ham, and whole ingredients. For more tips on healthy home cooking, check out resources like the Academy of Nutrition and Dietetics.
-
Social Activity: Pizza nights can easily turn into a fun gathering with friends or family. Everyone can pitch in to make their own creations, leading to laughter, shared moments, and delicious results. Who doesn’t love enjoying a variety of flavors while fostering connections?
If you’re inspired to dive into the art of making artisan pizza dough, get ready for a culinary adventure. The joy of crafting your own pizza will not only elevate your dining experience but also allow you to savor the satisfying process of cooking from scratch. It’s time to roll up those sleeves, and let’s get started!
Ingredients for Artisan Pizza Dough
Making artisan pizza dough at home is a rewarding experience that elevates your pizza game. To get started, here’s what you’ll need:
Essential ingredients you need for the perfect dough
- Bread Flour: This offers a higher protein content, giving your dough that delightful chewiness. It’s critical for achieving the right texture.
- Water: Warm water helps activate the yeast. Aim for about 110°F (43°C) to ensure a successful rise.
- Yeast: Instant or active dry yeast both work well. They provide the necessary lift to your dough.
- Salt: A key player, salt adds flavor and strengthens gluten, contributing to that perfect bite.
- Olive Oil: This not only helps with moisture but also adds richness to your crust.
If you’re looking for brands, King Arthur Baking offers excellent flour options, while brands like Red Star provide reliable yeast.
Optional ingredients for personalization
Feel free to get creative with these:
- Honey or Sugar: A touch of sweetness can enhance the yeast’s performance and flavor.
- Herbs and Spices: Add dried oregano or garlic powder for an aromatic touch that can make your dough even more special.
- Whole Wheat Flour: Substitute a portion of bread flour with whole wheat for a nuttier flavor and added fiber.
With these ingredients in hand, you’re all set to craft the best artisan pizza dough straight from your kitchen! Explore variations to suit your taste, and remember that practice makes perfect.
Step-by-step Preparation of Artisan Pizza Dough
Making your own artisan pizza dough is incredibly rewarding and surprisingly straightforward. Follow these steps to create a base that will impress your friends and family. Here’s how to get started!
Mix the flour and water for initial hydration
The first step in crafting your artisan pizza dough begins with the simplest ingredients: flour and water. You’ll want to choose high-quality flour—ideally, a bread flour with a higher protein content, as this helps develop gluten.
- Gather Your Ingredients:
- 500g bread flour
- 325ml lukewarm water
-
Combine: In a large mixing bowl, pour the flour and gradually add the water. Use a wooden spoon or your hands to mix until no dry flour remains. This process is key for initial hydration, allowing the flour to absorb the water.
-
Rest: Let the mixture sit for about 20-30 minutes. This rest period, known as autolyse, aids in gluten development and makes the dough easier to handle later.
This simple step is deceptively crucial; it sets the stage for a beautifully textured dough.
Activate the yeast and incorporate it into the dough
Next, we’ll introduce yeast into the mix. Yeast is what really makes your dough rise and gives it that delightful airy texture.
-
Activate the Yeast: In a separate bowl, take 10g of active dry yeast and dissolve it in 50ml of lukewarm water with a pinch of sugar. Let it sit for about 5-10 minutes until it becomes frothy.
-
Incorporate: Once frothy, pour this mixture into your hydrated flour. Mix thoroughly until the yeast is fully incorporated.
-
Salt: Add 10g of salt at this stage. Salt strengthens the dough’s structure and enhances flavor. Mix again until everything is well combined.
For more on the science behind yeast, check out articles on fermentation like those from Serious Eats.
Develop gluten through folding techniques
Now it’s time to knead your dough! This process develops the gluten, contributing to the dough’s structure and chewiness.
-
Knead: Instead of traditional kneading, try the folding technique. Grab one edge of the dough, stretch it upwards, and fold it over itself. Rotate the bowl and repeat this process for about 10-15 minutes.
-
Stretch and Fold: Every 30-45 minutes during the first rise, perform a series of folds. This builds strength without completely deflating your dough.
Using this folding method allows for a gentle development of the gluten, which is less likely to overwork the dough.
Shape the dough into balls and let it rise
Once your dough has reached its gluten development sweet spot, it’s time to shape it.
-
Divide: Lightly flour your work surface and divide the dough into about four equal pieces, each weighing around 250g.
-
Shape: Take each piece and stretch it into a round ball. Pinch the seams at the bottom for a neat finish.
-
First Rise: Place the balls on a lightly floured surface or in a floured bowl. Cover them with a damp cloth or plastic wrap and let them rise at room temperature for about 2-4 hours, or until doubled in size.
At this point, the dough is developing flavor, and you can practically smell the delicious aromas!
Prepare the dough for pizza
After the dough has risen beautifully, it’s almost time to make your pizza!
-
Preheat Your Oven: Aim for the highest temperature, around 475°F to 500°F. If you have a pizza stone, now’s the time to place it in the oven!
-
Shape: Take one dough ball and gently flatten it on a floured surface. Use your fingers to press it outwards, creating the crust. Avoid using a rolling pin, as it can deflate the bubbles that have formed.
-
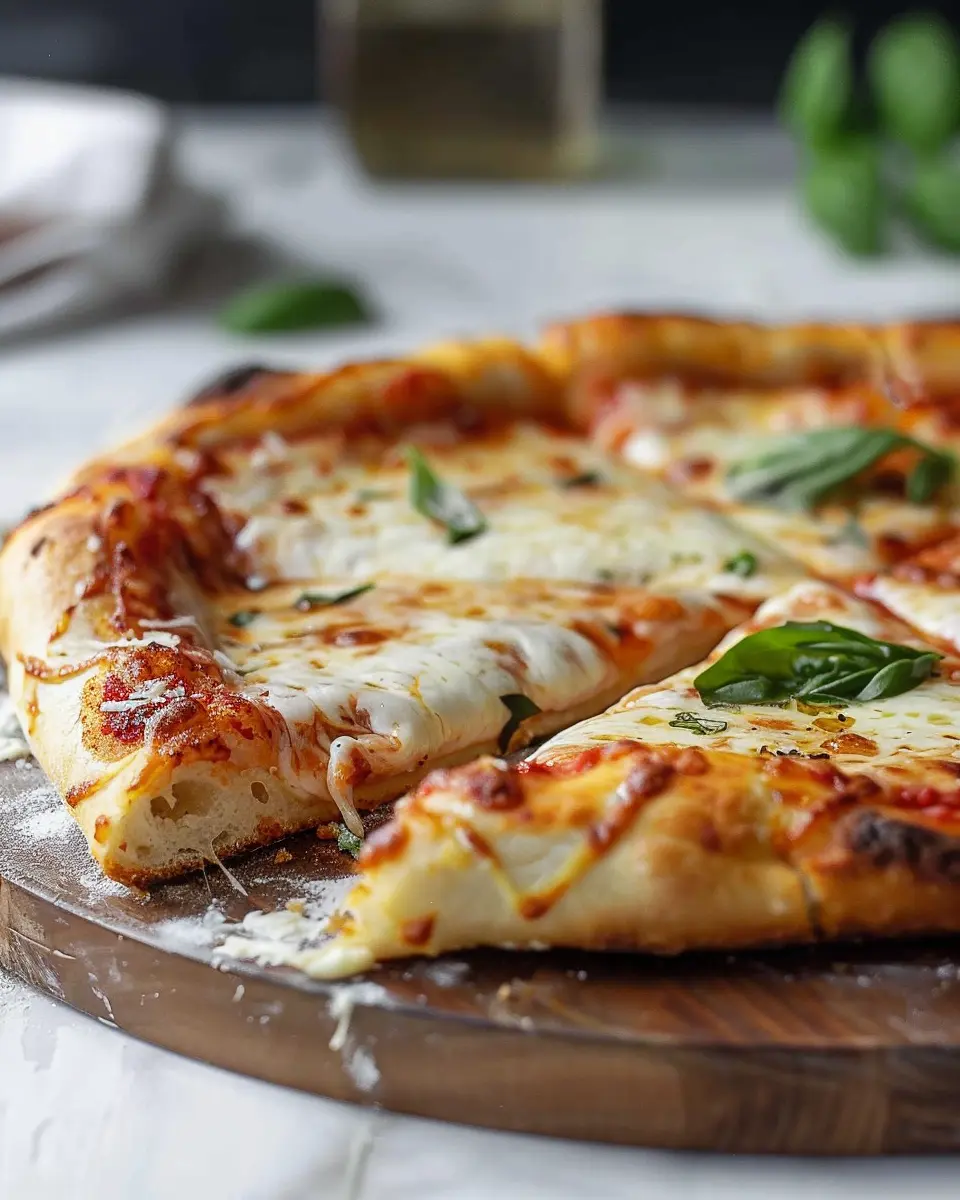
Top as Desired: Add your favorite sauces and toppings—maybe some fresh tomato sauce, a sprinkle of mozzarella, or even turkey bacon and chicken ham for that added flavor kick!
Now, you’re ready to bake your artisan pizza, which will emerge bubbly and golden. Enjoy the fruits of your labor and delight in your homemade creation!
For more pizza tips, check out trusted culinary sources like Food Network. Happy baking!
Variations on Artisan Pizza Dough
Whole Wheat Artisan Pizza Dough
If you’re looking to boost the nutritional value of your pizza night, whole wheat artisan pizza dough is a fantastic option. This variation not only adds fiber, which aids digestion, but it also imparts a slightly nutty flavor to your crust.
To make it, simply replace half of your all-purpose flour with whole wheat flour. You might need to adjust the water slightly since whole wheat flour absorbs more moisture. As a rule of thumb, start with 3 cups of whole wheat flour and add water until the dough feels just right. It’s a healthy swap that doesn’t skimp on taste.
Gluten-Free Artisan Pizza Dough Options
For those with gluten sensitivities, crafting a delicious gluten-free artisan pizza dough can be a game changer. There are several gluten-free flour blends available, but a combination of almond flour and tapioca flour can yield a wonderfully stretchy dough.
- Basic Recipe:
- 2 cups almond flour
- 1 cup tapioca flour
- 1 teaspoon salt
- 1 tablespoon olive oil
- Water as needed for consistency
This blend results in a crust that’s not only gluten-free but also rich in flavor. You might also consider adding xanthan gum to improve elasticity. If you’re curious about different flour options, check out expert recommendations from the Gluten Intolerance Group to get started on your gluten-free journey.
Exploring these variations allows for a delicious pizza night that suits everyone, regardless of dietary preferences. So, whether you’re rolling out a classic dough or trying something new, there’s a pizza recipe out there for you!
Cooking Tips and Notes for Artisan Pizza Dough
Utilizing Pizza Stones vs. Baking Sheets
When it comes to baking your artisan pizza dough, the choice between pizza stones and baking sheets can make a noticeable difference. Pizza stones distribute heat evenly, creating a wonderfully crisp crust—ideal for that authentic pizzeria experience. If you don’t have one, a pre-heated baking sheet can still work well; just grease it lightly to prevent sticking. Make sure to preheat your surface of choice for about 30 minutes before placing your pizza.
Optimal Oven Temperatures for Crust Perfection
For the best results, aim to bake your artisan pizza dough at temperatures between 475°F and 500°F. This high heat allows the crust to rise beautifully and develop that much-desired char. If your oven has a pizza setting, use that! Consider using a pizza peel for easy transfer; it can make a world of difference. Remember to keep a close eye on your pie, as cooking times can vary wildly—typically 10-12 minutes does the trick.
Feel free to check out sources like Serious Eats for more tips on perfecting your pizza!
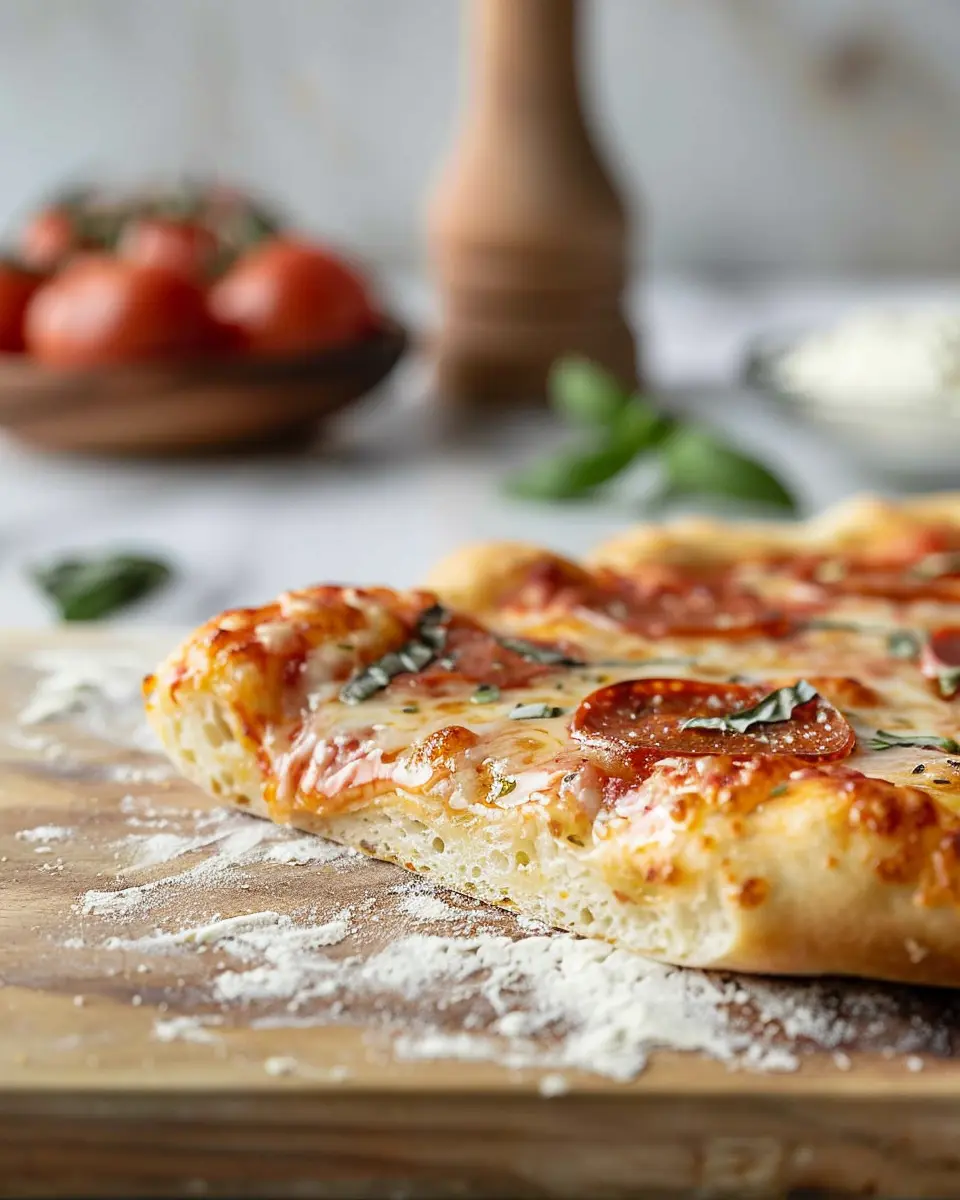
Serving Suggestions for Artisan Pizza
When you’ve perfected your artisan pizza dough, the next fun part is selecting toppings that will leave your guests raving! Here are some creative ideas to elevate your pizza game:
Creative Topping Ideas to Impress Guests
- Gourmet Combinations: Try prosciutto with arugula and a drizzle of balsamic glaze for an Italian twist. Alternatively, mix roasted vegetables with feta and a sprinkle of fresh herbs.
- Unique Sauces: Swap out traditional tomato sauce for pesto or a spicy harissa spread. This adds a whole new flavor profile that can surprise and delight your diners.
- Cheese Choices: Besides mozzarella, consider goat cheese, gorgonzola, or smoked gouda to deepen the flavor complexity of your pizza.
Pairing the Perfect Beverages with Your Pizza
The right drink can make your artisan pizza truly shine! Here are some pairings that work beautifully:
- Craft Sodas: Opt for artisan sodas with unique flavors like blood orange or lavender, which can complement your pizza’s toppings.
- Sparkling Water: Enhance your meal experience with a refreshing sparkling water infused with lemon or cucumber.
- Iced Herbal Teas: A fruity iced chamomile tea can be a sweet and relaxing choice that contrasts nicely with savory toppings.
So, what are you waiting for? Gather your friends, roll out that artisan pizza dough, and indulge in a delightful dining experience! For more ideas, check out this pizza topping inspiration for endless creativity!
Time Breakdown for Artisan Pizza Dough
Preparation Time
Getting started on your artisan pizza dough is a breeze! It typically takes about 15-20 minutes to gather your ingredients and mix everything together. Just imagine the aroma filling your kitchen as you blend high-quality flour, yeast, and water.
Rising Time
Now, here comes the magical part: the rising time. Allow your dough to rest for at least 1 to 2 hours, depending on the temperature in your kitchen. This is where the flavors develop, so don’t rush it! If you’re feeling patient, you can let it rise overnight in the fridge for an even richer taste.
Baking Time
When it’s almost time to eat, preheat your oven to its highest setting (often around 475°F or 245°C). The baking process takes about 10-15 minutes, bringing that beautiful golden crust to life.
Total Time
All-in-all, from preparation to that first delightful bite, expect to spend around 1 hour and 45 minutes to 2 hours, including rising time. Perfect for a weekend project that transforms your cooking skills!
For more tips on perfecting your artisan pizza dough, consider checking out resources from reputable culinary sites like Serious Eats or King Arthur Baking.
Nutritional Facts for Artisan Pizza Dough
Calories per Serving
If you’re craving a delicious slice of artisan pizza dough, you’re probably curious about the calorie content. A typical serving (one slice) of homemade artisan pizza made with our pizza dough recipe contains approximately 150-200 calories. This number can vary based on toppings, but it’s a great starting point for mindful munching. Knowing the calorie count helps you balance your meal while enjoying your favorite flavors.
Carbohydrates and Protein Content
When it comes to artisan pizza dough, carbohydrates are the main star, providing you with that lovely chewy texture. Each serving contains around 30-35 grams of carbohydrates, making it a hearty base for all your topping dreams. As for protein, you can expect about 5-7 grams per slice, depending on your ingredients. If you’re looking to up the protein content, consider adding some cheese or protein-rich toppings like Turkey Bacon or Chicken Ham. Want to learn more about your daily dietary needs? Check out resources like the USDA FoodData Central.
A slice of artisan pizza isn’t just a treat; it can fit into a balanced diet when enjoyed in moderation. So, go ahead and savor every bite!
FAQs about Artisan Pizza Dough
When diving into the world of artisan pizza dough, it’s common to have questions. Here are some of the most frequently asked ones to help elevate your pizza-making game.
What makes artisan pizza dough different from regular pizza dough?
The key difference lies in the fermentation process. Artisan pizza dough utilizes a longer fermentation period, which allows the flavors to develop more depth, giving you that perfect chewy crust. Unlike standard dough that might just require a quick rise, this dough often features a blend of high-quality flour and minimal ingredients, focusing on quality over quantity. According to experts, this approach can create notable taste and texture enhancements in your final product.
Can I store leftover pizza dough, and for how long?
Absolutely! Storing leftover artisan pizza dough is not only possible but a great way to maximize your efforts. If you find yourself with extra dough, simply wrap it tightly in plastic wrap and place it in the fridge. It can last for about 3 days. If you need longer storage, consider freezing it; it will be good for up to 3 months. Just remember to defrost it overnight in the fridge before use, and you’ll have fresh dough ready for your pizza night!
What are some common mistakes when making pizza dough?
Here are a few pitfalls to avoid for the best results:
- Over-kneading: It’s important to reach that perfect balance; too much kneading can create dense dough.
- Skipping the rise time: Patience pays off! Give your dough ample time to rise for a lighter crust.
- Not measuring ingredients: Precision is key, especially with flour and water, to achieve the right texture.
- Using cold ingredients: Make sure your water is warm enough to activate the yeast.
For deeper diving into artisan techniques, check out resources from culinary experts here and here.
By keeping these FAQs in mind, you’re well on your way to mastering the art of artisan pizza dough!
Conclusion on Artisan Pizza Dough
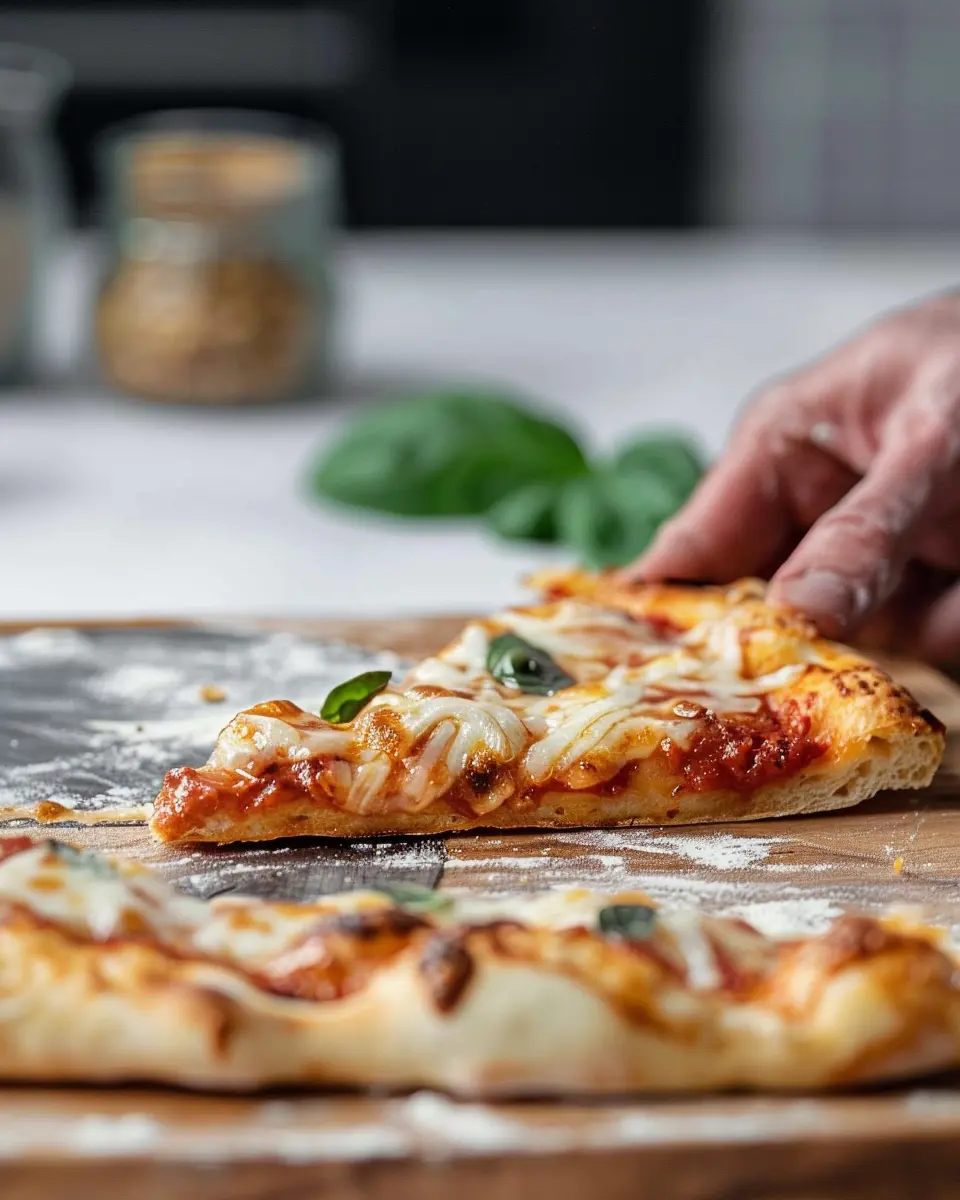
The Joy of Crafting Homemade Pizza from Scratch
Creating your own artisan pizza dough is more than just a recipe; it’s an experience that brings joy and satisfaction. As you blend simple ingredients like flour, water, and yeast, you’re setting the stage for culinary creativity. Imagine gathering with friends, sharing laughter, and customizing your pizzas to your heart’s desire.
The skills you develop in mastering this dough can elevate your kitchen game. Plus, it’s a fantastic way to impress your peers at your next gathering. For a deeper dive into improving your dough game, consider checking out this informative guide on bread making techniques for even richer flavors!
So why not roll up your sleeves and indulge in the delightful process of making artisan pizza dough? With every knead and stretch, you’re not just making dinner—you’re crafting memories.
PrintArtisan pizza dough made easy: Create mouthwatering pies at home

Learn how to make artisan pizza dough from scratch that results in delicious, handcrafted pizzas.
- Prep Time: 15 minutes
- Cook Time: 15 minutes
- Total Time: 2 hours 45 minutes
- Yield: 2 large pizzas
- Category: Dinner
- Method: Baking
- Cuisine: Italian
- Diet: Vegetarian
Ingredients
- 4 cups all-purpose flour
- 1.5 cups warm water
- 2 teaspoons salt
- 1 teaspoon sugar
- 2 teaspoons active dry yeast
- 2 tablespoons olive oil
Instructions
- In a bowl, dissolve sugar and yeast in warm water. Let it sit for 10 minutes until frothy.
- In a large mixing bowl, combine flour and salt. Make a well in the center.
- Add the yeast mixture and olive oil into the well.
- Mix the ingredients until a dough forms.
- Knead the dough on a floured surface for about 5-7 minutes until smooth.
- Place the dough in a greased bowl, cover, and let it rise for 1-2 hours until doubled.
- Punch down the risen dough and divide it into portions.
- Shape each portion into a ball and let them rest for 30 minutes.
- Roll out the dough into your desired shape and top with your favorite ingredients.
- Bake in a preheated oven at 475°F (245°C) for 12-15 minutes.
Notes
- For a crispier crust, use a pizza stone.
- You can add garlic powder to the dough for extra flavor.
Nutrition
- Serving Size: 1 slice
- Calories: 250
- Sugar: 1g
- Sodium: 400mg
- Fat: 3g
- Saturated Fat: 0.5g
- Unsaturated Fat: 2g
- Trans Fat: 0g
- Carbohydrates: 48g
- Fiber: 2g
- Protein: 8g
- Cholesterol: 0mg
")