
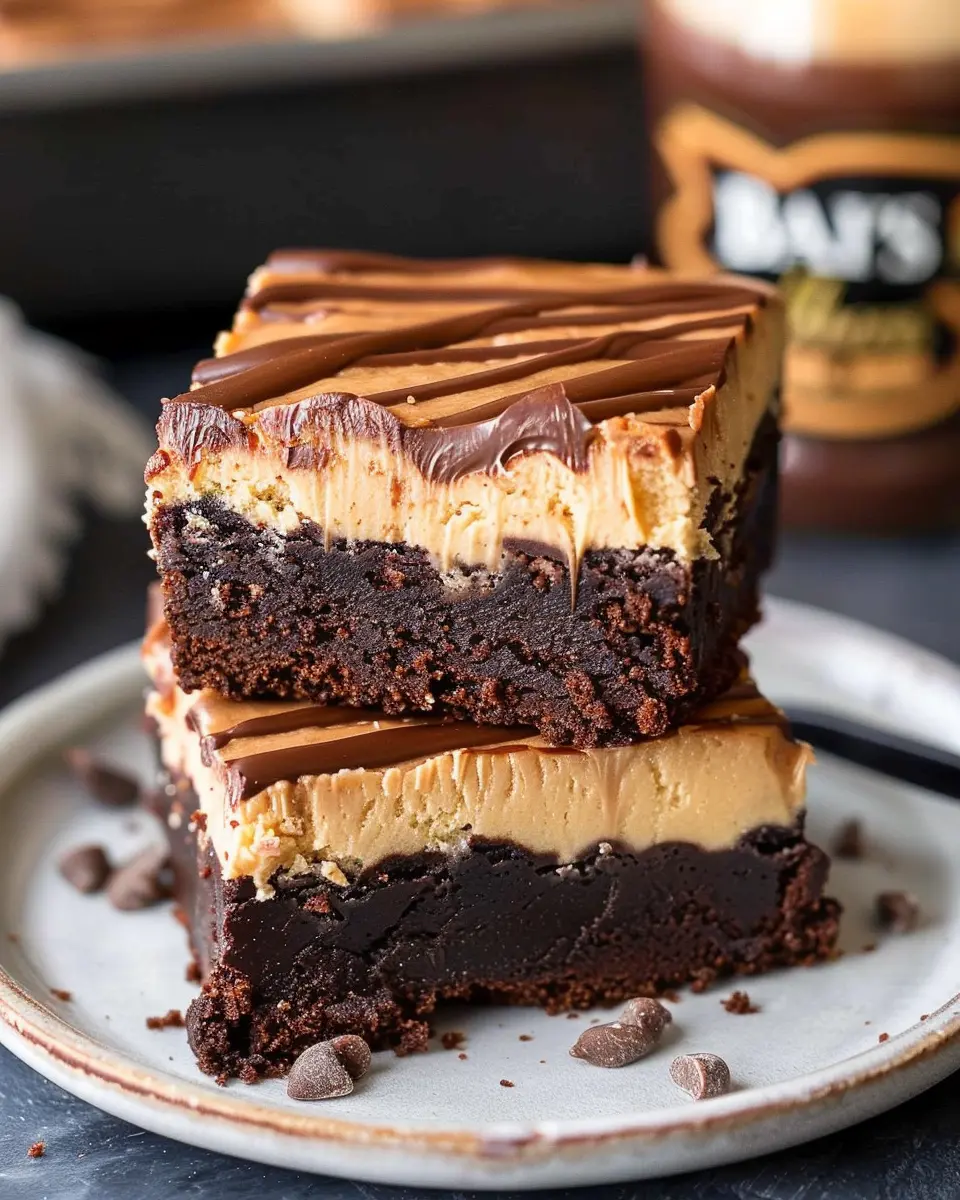
Introduction to Chocolate Thumbprint Cookies
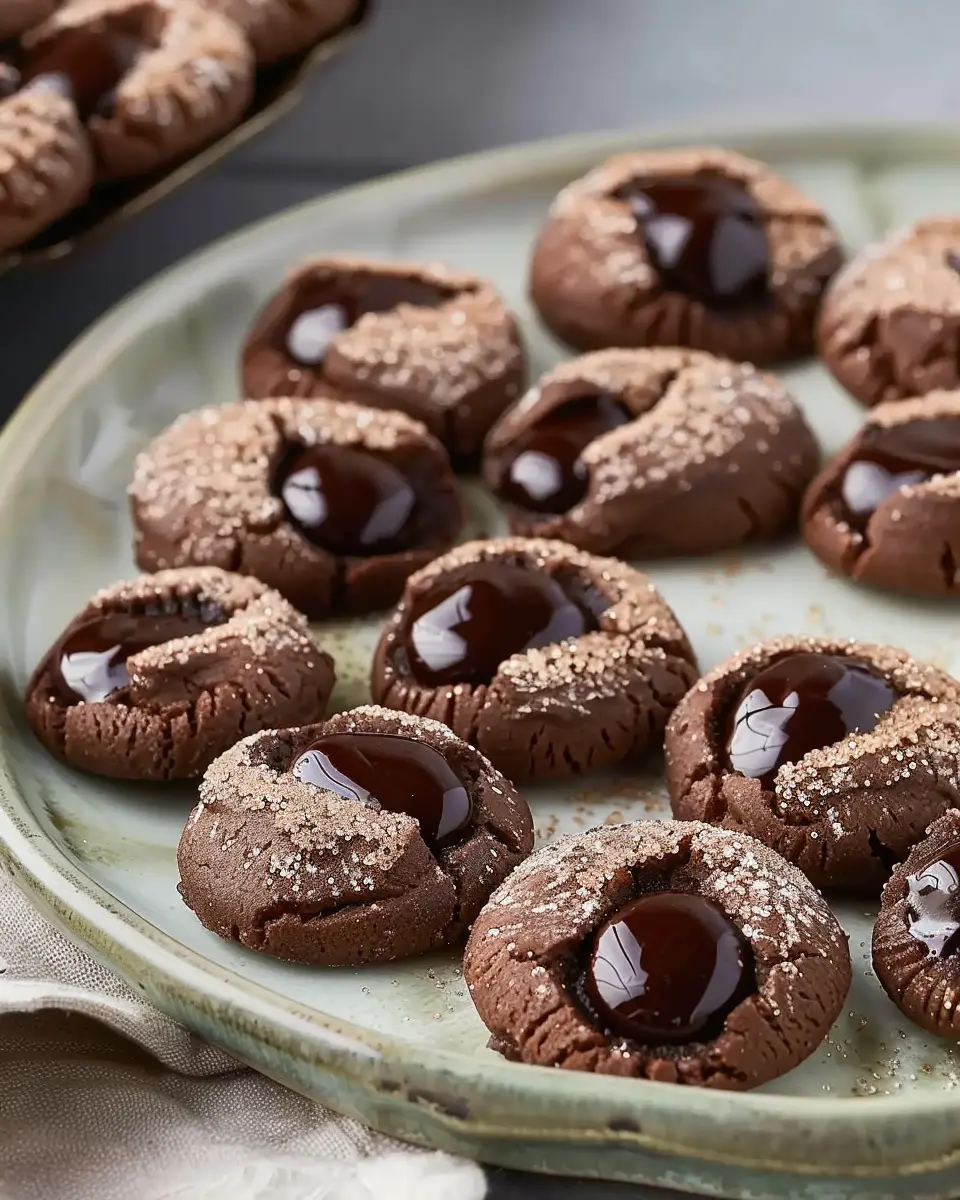
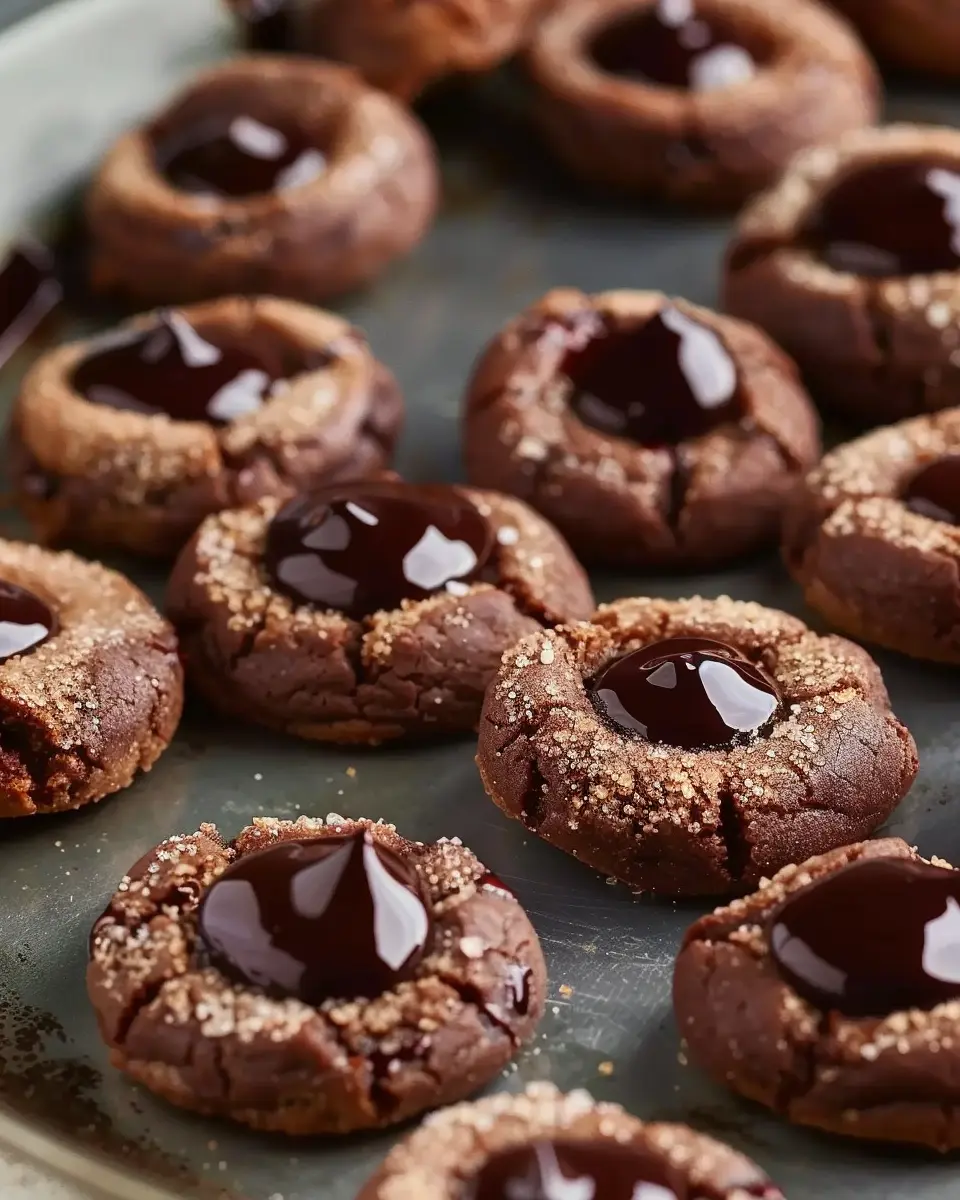
When it comes to cookies that spark joy and satisfy a sweet tooth, chocolate thumbprint cookies are a delightful contender. Picture this: a rich, chewy chocolate cookie adorned with a luscious dollop of your favorite jam or a silky chocolate ganache in the center. They offer a perfect blend of textures and flavors, making them not only a treat but an experience.
Why chocolate thumbprint cookies are a must-try
So, why should you dive into the world of chocolate thumbprint cookies? First, let’s talk about versatility. These cookies can be customized in a million ways. Whether you’re mad for raspberry jam, prefer a zesty lemon curd, or can’t resist a classic chocolate filling, there’s a flavor combination for every palette. This adaptability makes them fantastic for everything from casual snacks to elegant gatherings.
Moreover, preparing these cookies is a breeze. If you’ve ever struggled with complex baking techniques, rest easy! The thumbprint process simply involves making the dough, rolling it into balls, and creating a small indent with your thumb before baking. You get to unleash your inner artist when filling those thumbprints, allowing for creativity in your delicious creations.
Not to mention, these cookies are visually pleasing! The contrasting hues of the chocolate cookie and the vibrant filling are sure to impress at any gathering. Just think of the compliments you’ll get when you present a platter of these beauties; it’s hard not to feel like a baking superstar!
Did you know that chocolate can have mood-boosting effects? According to a study published in the Journal of Psychosomatic Research, chocolate consumption can enhance feelings of well-being. So, enjoying a chocolate thumbprint cookie not only treats your taste buds but can also elevate your spirits—what’s not to love?
Whether you’re baking for a cozy night in, preparing treats for friends, or just indulging in a personal craving, chocolate thumbprint cookies are a must-try. Check out these expert tips on baking cookies to ensure you hit the sweet spot every time!
Ingredients for Chocolate Thumbprint Cookies
Making chocolate thumbprint cookies is a delightful experience that fills your kitchen with warmth and the sweet aroma of baking. Here’s everything you’ll need to create these scrumptious treats.
Essential Ingredients
To whip up a batch of these delightful cookies, gather the following ingredients:
- All-purpose flour: 2 cups, for that perfect cookie structure.
- Cocoa powder: ½ cup. Choose high-quality for rich chocolate flavor.
- Granulated sugar: ¾ cup. This sweetens the deal and helps with texture.
- Unsalted butter: ½ cup, softened. Butter adds richness and a lovely mouthfeel.
- Egg yolks: 2, providing moisture and contributing to the cookie’s tenderness.
- Vanilla extract: 1 teaspoon. A dash elevates the flavors beautifully.
- Chocolate chips: ½ cup, melted for the center, or you can fill with your favorite jam!
Feel free to experiment with different flavors or even timing, adapting the recipe to suit your tastes. If you’re looking for more inspiration, consider checking out this guide on cookie textures. With these ingredients on hand, you’re well on your way to making chocolate thumbprint cookies that will impress your friends and satisfy your cravings. Happy baking!
Preparing Chocolate Thumbprint Cookies
Making chocolate thumbprint cookies is an adventure that’ll take your taste buds to new heights. These delightful morsels are perfect for any occasion, whether you’re whipping up a batch for a cozy night in or baking for a gathering of friends. With their melt-in-your-mouth chocolate flavor and nutty filling, they’re bound to be a crowd-pleaser. So, let’s dive in!
Gather Your Ingredients
Before you embark on this baking journey, let’s get organized. You’ll need:
- 1 cup unsalted butter, softened
- 1 cup granulated sugar
- 1 large egg
- 1 teaspoon vanilla extract
- 2 cups all-purpose flour
- ½ cup unsweetened cocoa powder
- ½ teaspoon baking soda
- ¼ teaspoon salt
- 1 cup chocolate chips (for the filling)
- Optional: chopped nuts or powdered sugar for garnish
Make sure you have everything at hand. Nothing disrupts baking bliss quite like realizing you’re out of eggs halfway through!
Cream the Butter and Sugar
Start by creaming the softened butter and sugar together. Use a stand mixer or a hand mixer on medium speed. You want to reach a light and fluffy consistency—think cloud-like, not a dense brick! This usually takes about 2-3 minutes. Creaming is essential, as it incorporates air into the mixture, giving your cookies that attractive light texture.
Incorporate the Egg and Vanilla
Next up, add in your egg and vanilla extract. Mix until well combined. This step not only enriches the cookie’s flavor profile but also binds all the ingredients together. Have you noticed how the scent of vanilla fills the air? It’s one of those little pleasures that makes baking feel so rewarding.
Combine the Dry Ingredients
In a separate bowl, whisk together your dry ingredients: flour, cocoa powder, baking soda, and salt. Make sure to sift the cocoa powder to avoid lumps, which could lead to uneven flavor in your finished cookies. Gradually add these dry ingredients into your creamed mixture, mixing on low speed until just combined. Pro tip: Overmixing can lead to tough cookies, so stop as soon as you don’t see any flour.
Form the Cookie Dough
Once everything is well mixed, you should have a soft, slightly sticky dough. If it feels too wet, you can chill it in the refrigerator for about 30 minutes. This not only helps with handling but can enhance the flavors as well. It’s the perfect time to clean up your workspace or even sneak a taste of the dough—after all, it’s one of life’s little joys!
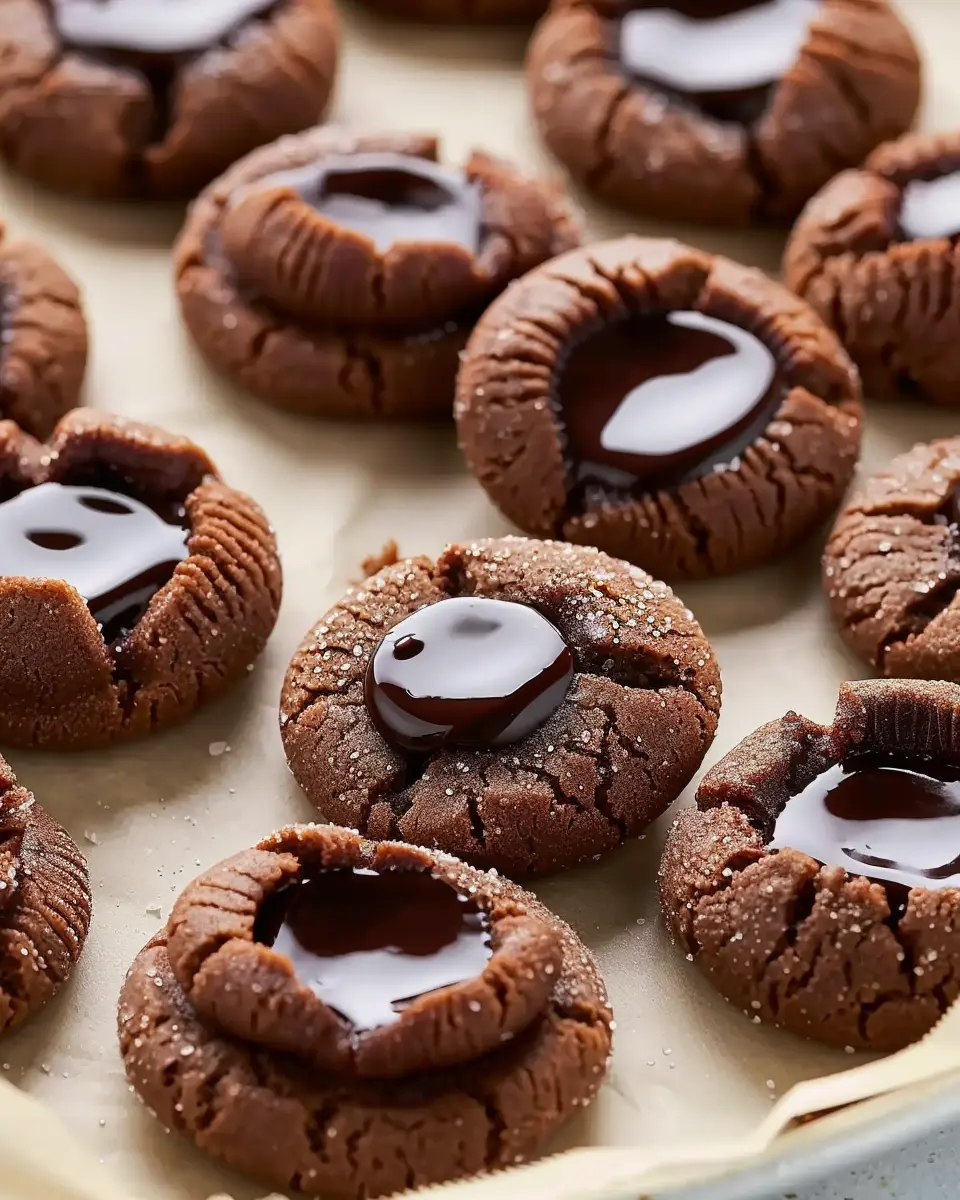
Shape and Press the Cookies
Preheat your oven to 350°F (175°C). Using a tablespoon, scoop out portions of dough and roll them into balls. Place them on a baking sheet lined with parchment paper, leaving about 2 inches in between each ball. Then, make an indentation in the center of each ball with your thumb (hence the name!). This little hollow will hold your delectable filling.
Bake to Perfection
It’s finally time to bake your chocolate thumbprint cookies! Slide the baking sheet into the oven and bake for about 10-12 minutes, or until the edges are set. Keep an eye on them; you want the cookies to be soft yet firm enough to hold their shape. Once baked, remove them from the oven and let them cool on the baking sheet for 5 minutes before transferring them to a wire rack.
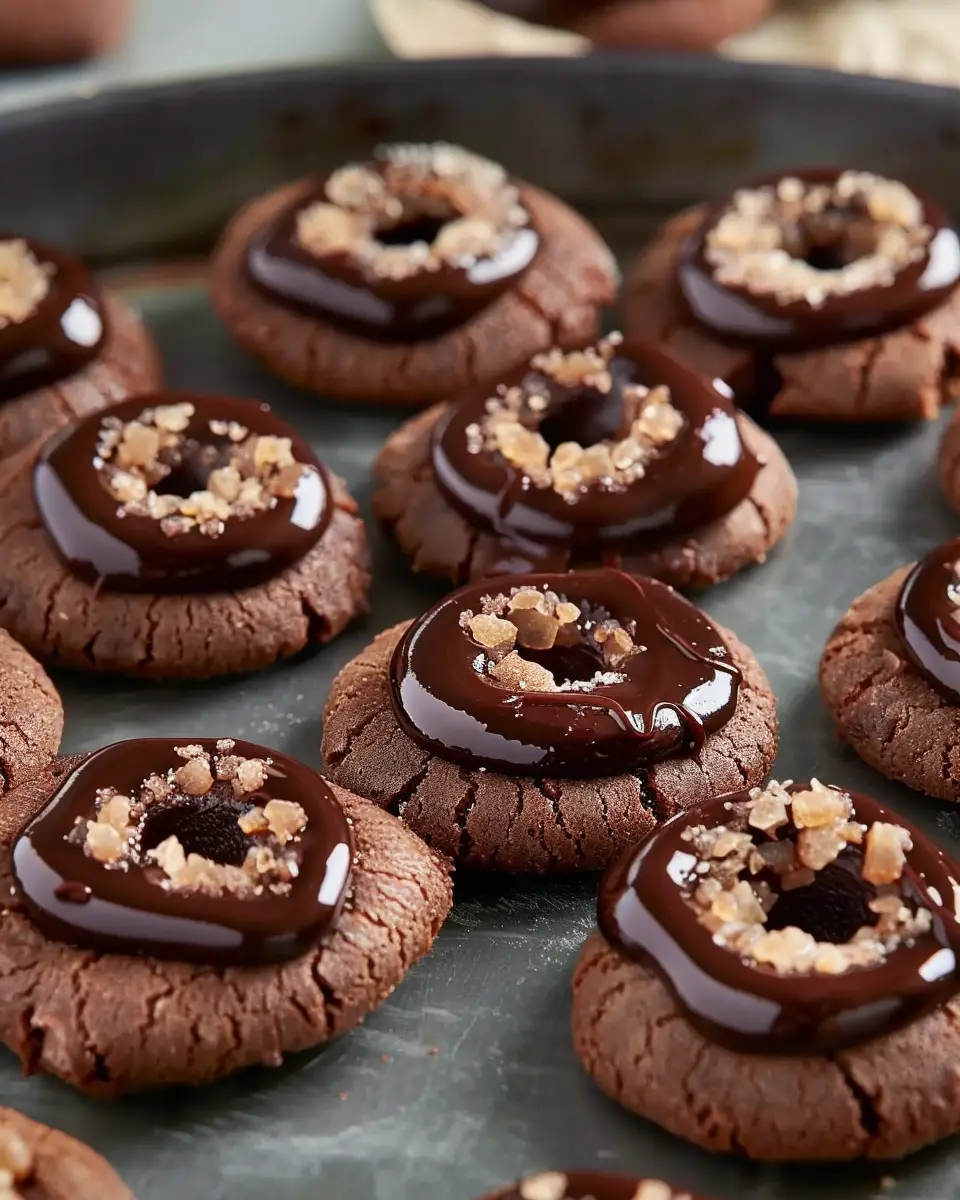
Make the Chocolate Filling
While your cookies are cooling, it’s time to prepare the chocolate filling. In a microwave-safe bowl, heat your chocolate chips in 30-second intervals, stirring in between, until melted and smooth. If you want a little extra flavor, consider adding a splash of coffee or a sprinkle of sea salt!
Fill the Cookies and Let Them Set
Once your cookies have cooled completely, use a spoon or piping bag to fill each indentation with the melted chocolate. You can sprinkle chopped nuts on top for a delightful crunch or dust with powdered sugar for that extra touch of elegance. Let the cookies sit until the chocolate is set, which will take about 15-30 minutes.
And there you have it! Your scrumptious chocolate thumbprint cookies are ready to be devoured. Share them with friends or simply enjoy them for yourself. Happy baking! If you need more ideas, consider checking out this baking guide for further inspiration.
Variations on Chocolate Thumbprint Cookies
When it comes to chocolate thumbprint cookies, the classic recipe is already a delightful treat, but why stop there? With just a few tweaks, you can create variations that bring a whole new flavor experience to your baking. Here are two tempting options to consider.
Nutty Chocolate Thumbprint Cookies
If you’re a fan of nutty flavors, this variation is perfect for you. Simply incorporate your favorite nuts into the dough. Here’s how:
- Ingredients: Add finely chopped pecans or walnuts to the dough for a delightful crunch.
- Topping: After baking, fill the thumbprints with a rich chocolate ganache and sprinkle crushed nuts on top for added texture.
These nutty chocolate thumbprint cookies not only add a depth of flavor but also a rustic touch that enhances every bite. It’s a tasty way to impress those around you.
For more nutty dessert inspirations, check out The Nut Lover’s Cookbook.
Spiced Chocolate Thumbprint Cookies
Looking to add a little warmth to your chocolate thumbprint cookies? Try incorporating spices! Here’s how to spice things up:
- Ingredients: Blend in a teaspoon of cinnamon or a pinch of cayenne pepper into your dough. This will elevate the chocolate and make each cookie feel like a warm hug.
- Filling: Experiment with caramel or a spiced pumpkin filling in the center for a comforting twist.
Imagine enjoying a cozy evening with these spiced delights alongside a steaming cup of chai! If you’re curious about the health benefits of spices, check out this article on Spices and Well-Being.
These variations on chocolate thumbprint cookies are just a starting point. Let your creativity flow, and don’t hesitate to make these recipes your own. Happy baking!
Baking Tips for Chocolate Thumbprint Cookies
When it comes to making chocolate thumbprint cookies, a few simple tips can make all the difference.
Choose Quality Ingredients
Embrace the rich flavors by selecting high-quality chocolate and butter. Brands like Ghirardelli for chocolate offer a wonderful depth that enhances your cookies significantly. Remember, better ingredients yield better results!
Chilling Is Key
After mixing your dough, be sure to chill it for at least 30 minutes. This not only makes the dough easier to handle, but it also helps the cookies retain their shape while baking.
Perfecting Your Thumbprint
When creating your thumbprint, use the back of a measuring spoon rather than your finger. This method ensures a more consistent shape and prevents your thumb from sticking.
Baking Time Matters
Keep a close eye on your cookies. Every oven is different, and baking times can vary. They should be set around the edges but still soft in the center for that perfect chewy texture.
For more tips and insights, visit the Joy of Baking to dive deeper into the art of baking! And don’t forget to share your baking experience; it’s always fun to hear how others enjoy their chocolate thumbprint cookies!
Serving suggestions for Chocolate Thumbprint Cookies
When it comes to serving your delightful chocolate thumbprint cookies, the possibilities are endless! These cookies not only look gorgeous but also serve as a perfect complement to various accompaniments.
Pairing with Beverages
A steaming cup of coffee or a rich hot chocolate can enhance the chocolatey goodness of these cookies. If you’re hosting friends, why not try offering a selection? A fruity herbal tea can also provide a refreshing contrast to the deep flavors of the chocolate thumbprint cookies.
Creative Plating Ideas
Presentation matters! Arrange your cookies on a rustic wooden board alongside fresh berries or sliced fruits. Drape them with a light dusting of powdered sugar for that extra touch of elegance.
Perfect Occasions
These cookies are perfect for festive gatherings, casual get-togethers, or even as a packed snack for work. Consider setting up a cookie bar at your next party, allowing guests to customize their thumbprint filling with options like caramel or various jams.
For additional inspiration for your cookie recipes, check out this guide on cookie variations. Indulging in chocolate thumbprint cookies is about creating memorable moments with every delightful bite!
Time breakdown for Chocolate Thumbprint Cookies
When preparing to bake chocolate thumbprint cookies, it’s helpful to know exactly where your time will go. Here’s a simple breakdown:
Preparation time
Getting everything ready for your cookies? Set aside about 15-20 minutes for mixing your ingredients, rolling the dough, and filling those delightful thumbprints. It’s a fun process that lets creativity shine!
Baking time
Once your cookies are prepped and placed on the baking sheet, they’ll need about 12-15 minutes in the oven. Keep an eye on them; you want that perfect balance of soft and chewy!
Cooling and setting time
After baking, it’s crucial to let your cookies cool for about 10 minutes on the baking sheet, followed by an additional 30 minutes on a wire rack. This will ensure they set up nicely and are ready for indulgence!
By the way, if you’re looking for more baking tips, check out this helpful guide on cookie baking essentials!
Nutritional facts for Chocolate Thumbprint Cookies
When it comes to indulgent treats, chocolate thumbprint cookies are hard to beat! Let’s break down the nutritional facts so you can enjoy these delights guilt-free.
Calories
A single chocolate thumbprint cookie typically contains around 100 calories. This makes them a manageable treat for those watching their caloric intake, especially if you enjoy them in moderation.
Sugar
These cookies generally have about 8 grams of sugar each. While that’s a bit sweet, it’s essential to consider how these cookies fit into your overall daily sugar allowance, as recommended by health guidelines.
Fat Content
With roughly 5 grams of fat per cookie, the fat content primarily comes from butter and chocolate. While fats are essential for our diet, being mindful of portion sizes can help maintain a balanced approach to snacking.
For more detailed information on nutritional guidelines, you can check resources from the American Heart Association or the FDA. Enjoy your baking and happy indulging!
FAQs about Chocolate Thumbprint Cookies
Can I use dark chocolate for the filling?
Absolutely! Using dark chocolate for your chocolate thumbprint cookies will give them a richer flavor, which many chocolate lovers find irresistible. Dark chocolate has a higher cocoa content, making the filling less sweet and adding a depth that pairs beautifully with the buttery cookie base. If you’re feeling adventurous, you can even try flavored dark chocolate, like orange or espresso, to give your cookies a fun twist.
How do I store leftover cookies?
If you’re lucky enough to have some chocolate thumbprint cookies left over (though I doubt it!), storing them properly is key to keeping them fresh. Place the cookies in an airtight container at room temperature, preferably with parchment paper in between layers to prevent sticking. They should stay delicious for about 3-5 days. If you’re looking to extend their shelf life, you can freeze them. Simply place them in a freezer-safe container or bag, and they can last for up to three months!
What’s the ideal temperature for baking cookies?
For perfect chocolate thumbprint cookies, preheat your oven to 350°F (175°C). This temperature is ideal for ensuring that the cookies bake evenly without burning the edges. Everyone’s oven can be different, so be sure to keep an eye on them and check for that delightful golden-brown color.
With these tips, you’re on your way to cookie perfection! For more baking tips and tricks, consider checking out resources from culinary experts like Milk Street or America’s Test Kitchen. Happy baking!
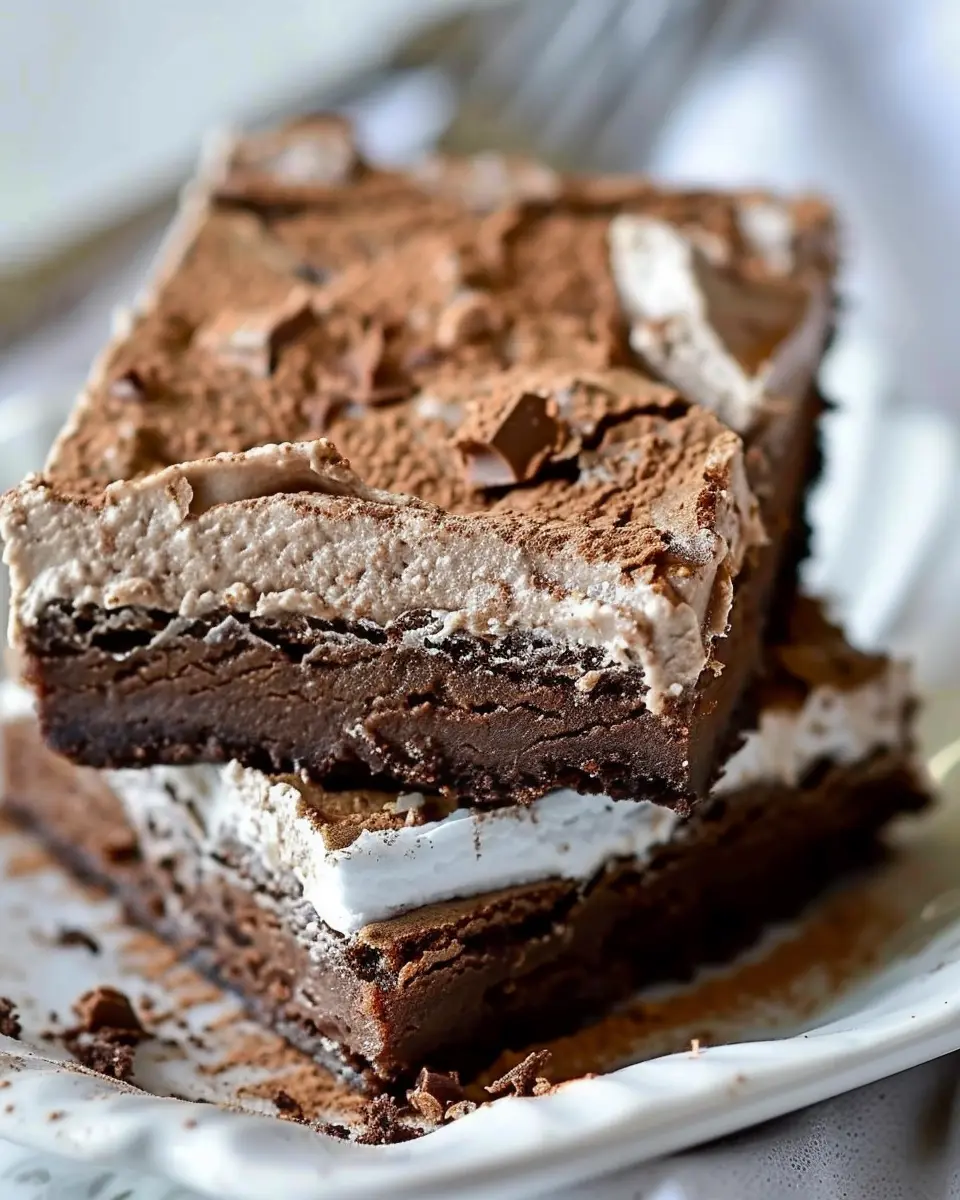
Conclusion on Chocolate Thumbprint Cookies
In summary, chocolate thumbprint cookies are a delightful treat that combines ease of preparation with incredible flavor. Whether you’re baking for a special occasion or just indulging your sweet tooth, these cookies are bound to impress. With their soft, fudgy centers and rich chocolate ganache, every bite offers a moment of savory bliss.
If you enjoy experimenting in the kitchen, consider varying the fillings—think about different types of jams or even a dollop of nut butter. On a different note, you might find inspiration in this detailed guide to cookie types on The Cookie Corner. So gather your ingredients, invite some friends over, and enjoy a cozy baking session full of laughter and sweet smells. Your cookie jar will thank you!
PrintChocolate Thumbprint Cookies: Easy Indulgence for Homemade Bliss

A delectable recipe for chocolate thumbprint cookies, combining rich flavors and ease of preparation.
- Prep Time: 15 minutes
- Cook Time: 12 minutes
- Total Time: 27 minutes
- Yield: 24 cookies
- Category: dessert
- Method: baking
- Cuisine: American
- Diet: vegetarian
Ingredients
- 1 cup all-purpose flour
- 1/2 cup unsweetened cocoa powder
- 1/2 cup granulated sugar
- 1/4 cup brown sugar
- 1/2 cup unsalted butter, softened
- 1 large egg
- 1 teaspoon vanilla extract
- 1/2 teaspoon salt
- 1/2 cup chocolate chips, for filling
Instructions
- Preheat your oven to 350°F (175°C).
- In a bowl, cream together the butter, granulated sugar, and brown sugar until fluffy.
- Beat in the egg and vanilla until well combined.
- In a separate bowl, sift together the flour, cocoa powder, and salt.
- Gradually mix the dry ingredients into the wet mixture.
- Roll the dough into small balls and place them on a baking sheet.
- Make an indentation in the center of each ball with your thumb.
- Fill each indentation with chocolate chips.
- Bake for 10-12 minutes until set. Let cool before serving.
Notes
- For a variation, try filling with different types of chocolate or jams.
- Store cookies in an airtight container to maintain freshness.
Nutrition
- Serving Size: 1 cookie
- Calories: 120
- Sugar: 10g
- Sodium: 50mg
- Fat: 7g
- Saturated Fat: 4g
- Unsaturated Fat: 2g
- Trans Fat: 0g
- Carbohydrates: 15g
- Fiber: 1g
- Protein: 1g
- Cholesterol: 20mg


")