
Introduction to Red Velvet Cupcake Cookies
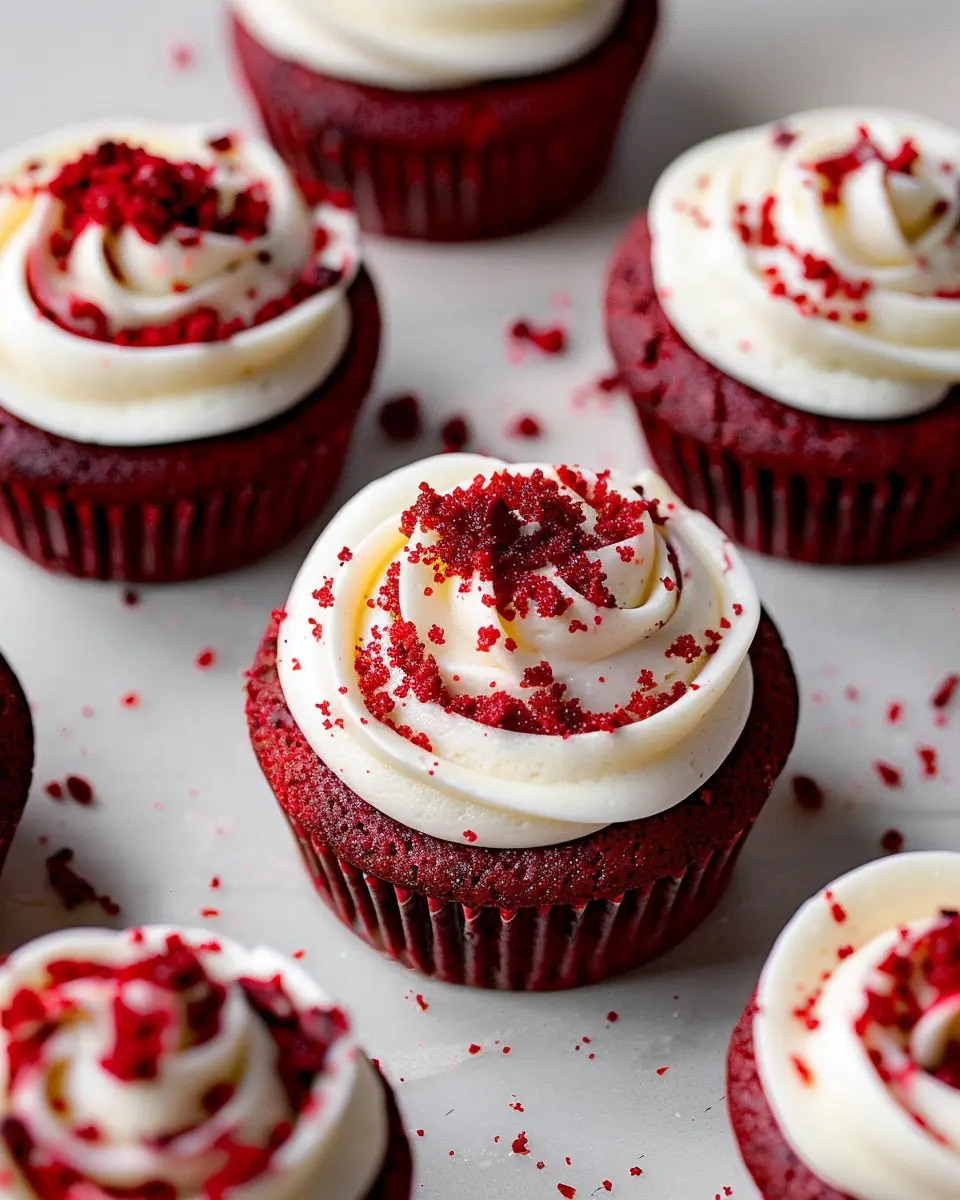
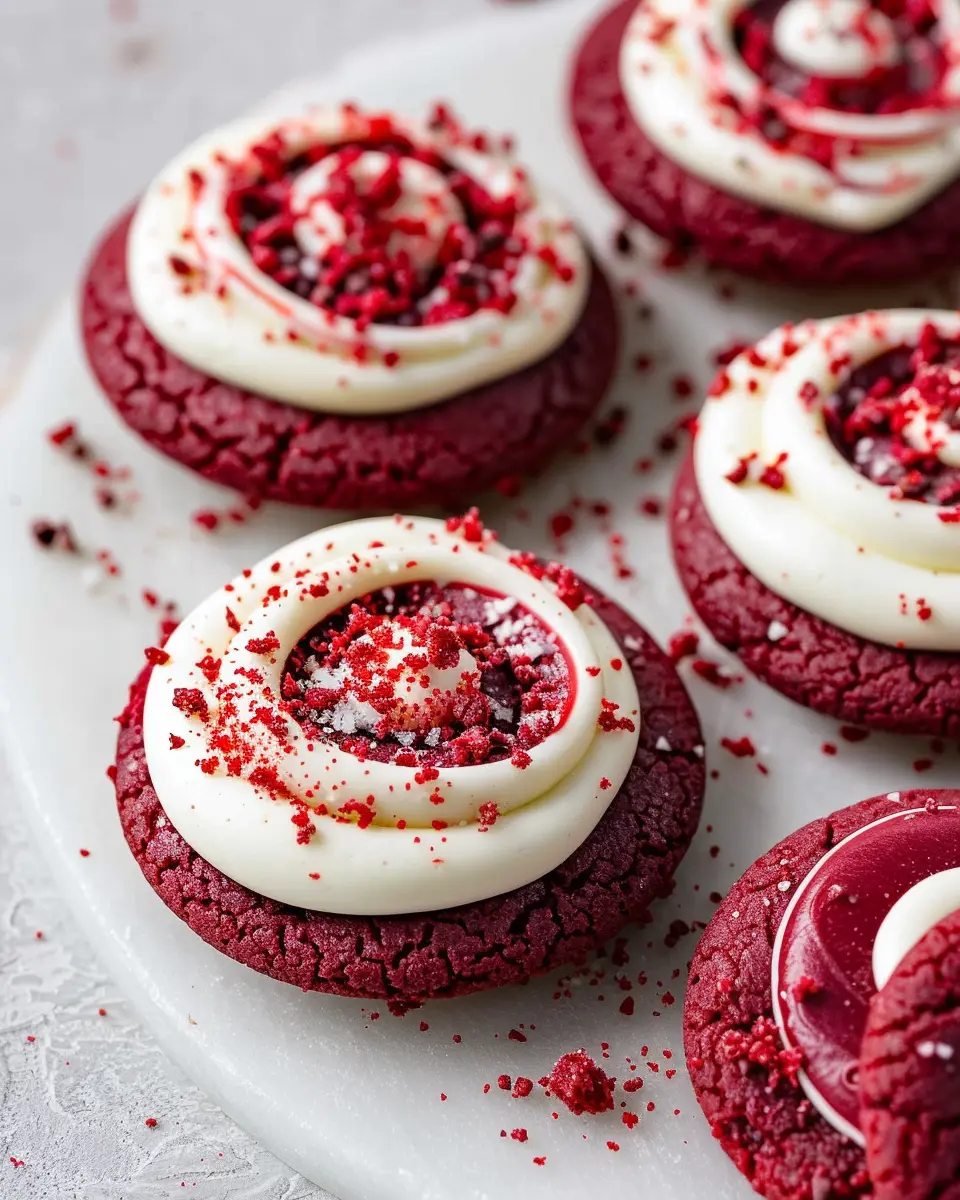
If you haven’t tried red velvet cupcake cookies, you’re in for a treat that combines classic flavors with the comforting essence of homemade goodness. These delightful cookies merge the richness of red velvet cake with the soft, chewy attributes of a cookie, making them a wonderful indulgence for anyone looking to satisfy a sweet tooth.
Why Red Velvet Cupcake Cookies Are the Perfect Treat for Young Professionals
As a young professional, your life is likely a whirlwind of meetings, deadlines, and social engagements. You deserve a bit of sweetness amid the hectic chaos, and there’s no better way to treat yourself than with red velvet cupcake cookies. Here’s why they fit perfectly into your lifestyle:
-
Quick and Easy: These cookies can be whipped up in under an hour, making them an ideal baking project for a busy weeknight. With just a handful of ingredients, you can enjoy freshly baked cookies without a major time commitment.
-
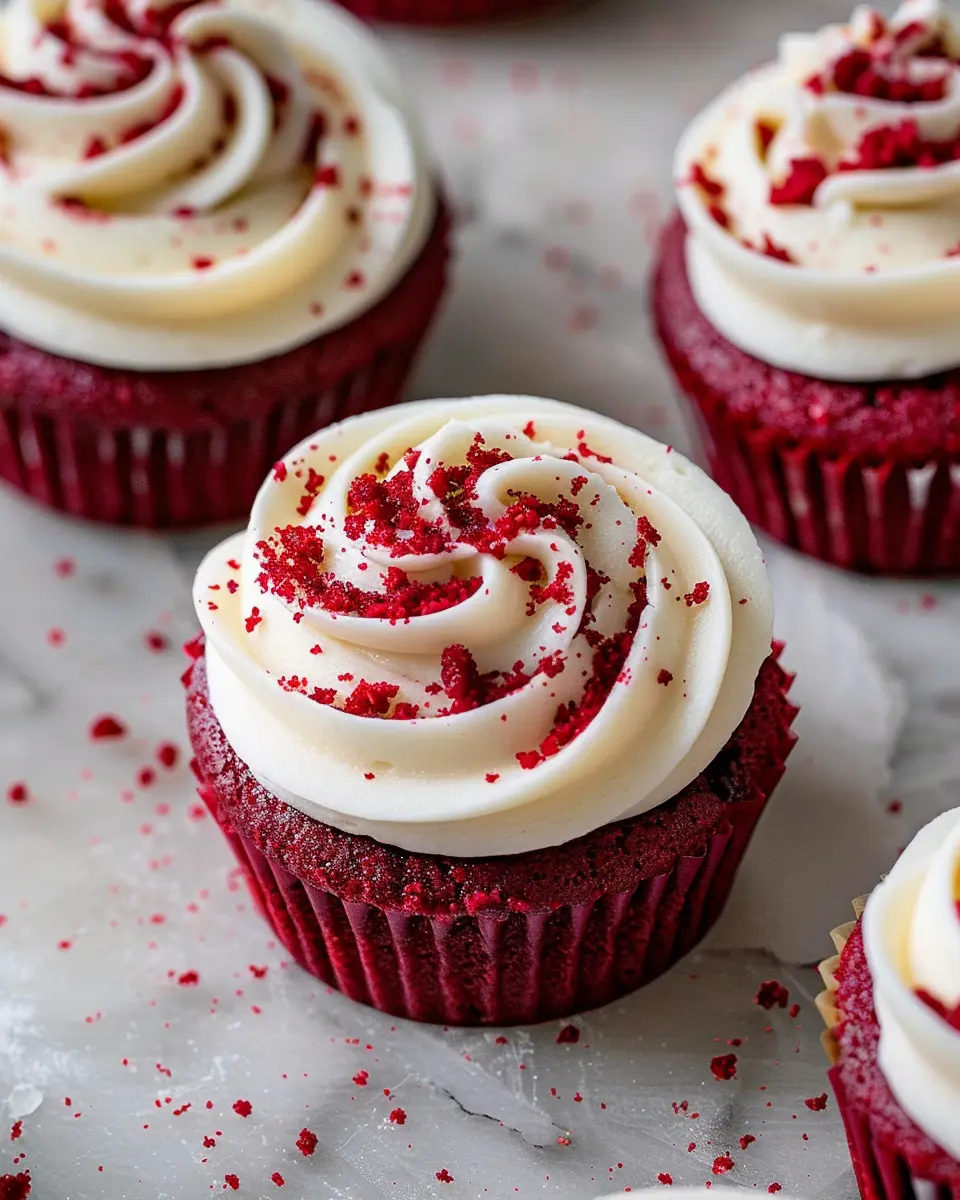
Impressive Presentation: The stunning red color of these cookies not only catches the eye but also makes them a showstopper at gatherings. Whether you’re bringing them to a potluck or sharing them with coworkers, these treats will spark conversations and compliments.
-
Versatility: You can enjoy red velvet cupcake cookies in various settings. They pair well with coffee for a quick pick-me-up during your busy workdays or can be dressed up with cream cheese frosting for a celebratory dessert on weekends.
-
Crowd-Pleaser: If you’re looking to impress, these cookies are a surefire hit. According to a survey by Food Network, red velvet is one of the most popular flavors among dessert lovers. They offer a nostalgic flavor profile that appeals to a broad audience.
-
Self-Care Treat: Everyone needs a little self-pampering now and then, and baking can be an excellent way to unwind and relax. The simple act of creating something delicious can be incredibly therapeutic, reducing stress while providing a delicious reward.
So, the next time you’re feeling overwhelmed or simply eager to indulge, turn to these red velvet cupcake cookies for a delightful dose of sweetness in your day. Happy baking!
Ingredients for Red Velvet Cupcake Cookies
Essential Ingredients for the Red Velvet Cookies
When it comes to making red velvet cupcake cookies, the ingredients play a crucial role in achieving that signature flavor and vibrant color. Here’s what you’ll need to gather:
- 2 cups all-purpose flour
- 1 tablespoon unsweetened cocoa powder
- 1 teaspoon baking soda
- ½ teaspoon salt
- 1 cup sugar
- 1 cup vegetable oil
- 2 large eggs
- 1 tablespoon vanilla extract
- 1 tablespoon red food coloring (for that iconic hue)
These basic ingredients set the foundation for a deliciously tender and flavorful cookie that mirrors the traditional cake. Have you ever wondered how to balance the cocoa? The secret is in the proportions – it adds just enough chocolatey depth without overpowering the red velvet essence.
Ingredients for the Cream Cheese Frosting
To elevate your red velvet cupcake cookies, don’t forget about the cream cheese frosting! This is where the real magic happens. Here’s a simple list to get that creamy texture just right:
- 8 oz cream cheese (softened)
- ½ cup unsalted butter (softened)
- 4 cups powdered sugar
- 1 teaspoon vanilla extract
- A pinch of salt
The combination of cream cheese and butter gives the frosting a rich taste that perfectly complements the cookies. If you want to learn more about different frosting options, check out this guide from Taste of Home. It’s all about nailing that creamy sweetness.
With these carefully chosen ingredients, your cookies will be both visually stunning and absolutely delectable. Happy baking!
Preparing Red Velvet Cupcake Cookies
Baking is more than a task; it’s an experience filled with delightful aromas and mouthwatering results. Red velvet cupcake cookies beautifully merge two beloved desserts into one scrumptious bite. Let’s walk through the steps together to ensure your cookie-making journey is a breeze.
Preheat and Prepare Your Space
Before you dive into the mixing, it’s essential to set the stage for your baking adventure. Preheat your oven to 350°F (175°C); this allows your cookies to bake evenly. While that’s warming up, gather your ingredients. You’ll need:
- All-purpose flour
- Cocoa powder
- Baking soda
- Sugar
- Eggs
- Oil
- Buttermilk (or a substitute if you’re out)
- Vanilla extract
- Red food coloring
Tidy your baking area and lay out all your tools and ingredients, including a mixing bowl, whisk, and baking sheets. Having everything accessible not only speeds up the process but also helps you avoid the dreaded mid-baking ingredient hunt!
Whisk Together the Dry Ingredients
Now that your space is ready, let’s whip up the dry ingredients. In a medium-sized bowl, combine:
- 2 cups of all-purpose flour
- 2 tablespoons of unsweetened cocoa powder
- 1 teaspoon of baking soda
- 1/2 teaspoon of salt
Using a whisk, blend these ingredients thoroughly. It’s important to ensure there are no lumps, especially in the cocoa powder, as this will help to create a uniform texture in your red velvet cupcake cookies.
Notably, using high-quality cocoa powder can enhance the chocolate flavor, so consider brands like Guittard or Ghirardelli. If you’re eager to learn more about the science of baking, check out resources like King Arthur Baking for expert tips.
Mix the Wet Ingredients
While your dry ingredients are set, it’s time to tackle the wet stuff. In a separate large bowl, mix together:
- 1 cup of granulated sugar
- 1/2 cup of vegetable oil
- 1 large egg
- 1 teaspoon of vanilla extract
- 1 cup of buttermilk
To amp up the red velvet effect, add 2 tablespoons of red food coloring. Using a handheld mixer or a whisk, beat until everything is thoroughly combined and smooth. This is where the magic begins, transforming basic ingredients into the vibrant base of your cookies.
Combine Wet and Dry Ingredients
Now comes the fun part: combining dry and wet ingredients! Gradually add the flour mixture to the wet mixture, stirring gently. This method helps avoid overmixing, which can lead to tougher cookies. You want a steady folding action until no dry flour is visible. The dough should be thick yet manageable, a bit like cake batter but firmer.
Portion and Bake the Cookies
Using a cookie scoop or tablespoon, drop heaping portions of dough onto a lined or greased baking sheet. Aim for uniformity; this ensures even baking. Leave a little space between each cookie because they will spread. Bake in your preheated oven for about 10–12 minutes, or until the edges start to set, but the centers should look just a tad under-baked.
Cool the Cookies Before Frosting
Once baked, remove the cookies from the oven and let them cool on the baking sheet for about 5 minutes before transferring them to a wire rack. This resting period allows the cookies to firm up a bit, perfect for adding your favorite cream cheese frosting later—if you’re a fan, you can find many creamy frosting recipes online.
Let your red velvet cupcake cookies cool completely. This is critical; frosting melted cookies can lead to a sugary mess instead of a delightful treat. Once they’re cool, let the icing begin—just wait until you take that first bite!
Enjoy your baking, and revel in the sweet success of these delicious cookies!
Variations on Red Velvet Cupcake Cookies
Red Velvet Cookies with a Twist
If you love the classic red velvet cupcake cookies, why not put your own spin on them? Adding different ingredients can transform them into something uniquely delicious. For instance, consider incorporating crushed peppermint candies for a seasonal touch or a swirl of peanut butter for a creamy, nutty flavor. These variations not only enhance the original taste but also cater to diverse palates.
Gluten-Free Red Velvet Cupcake Cookies
For those with dietary restrictions, you can easily adapt your red velvet cupcake cookies recipe to be gluten-free. Simply swap out all-purpose flour for a gluten-free flour blend that includes xanthan gum to mimic the texture. Many bakers prefer using almond flour or coconut flour for a tasty twist. The resulting cookies are just as vibrant and delightful, allowing everyone to indulge in this treat!
Fun Flavor Add-ins: Nuts, Chocolate Chips, and More
Why stop at the basics? Elevate your red velvet cupcake cookies with fun mix-ins! Try folding in semi-sweet chocolate chips or white chocolate chunks for an extra layer of sweetness. If you enjoy a bit of crunch, chopped pecans or walnuts can add a delightful texture. And for a unique twist, consider adding a splash of orange or almond extract to enhance the flavor profile. Not only will these add-ins make your cookies more exciting, but they will also showcase your creativity in the kitchen!
Check out more ideas for cookie variations at Food Network and Serious Eats for inspiration that will leave you baking like a pro. Remember, the key is to have fun and experiment, so don’t be afraid to go off-script!
Baking Tips for Red Velvet Cupcake Cookies
Perfecting Your Cookie Texture
Achieving the right texture in red velvet cupcake cookies is all about balance. For that soft, chewy bite, ensure you don’t overmix your dough. Mix just until your ingredients are combined; this keeps your cookies from becoming too dense. Also, chilling your dough for at least an hour helps them maintain their shape while baking. For a delightful twist, consider adding white chocolate chunks or chocolate chips for extra flavor and texture.
Common Mistakes to Avoid
When whipping up your red velvet cupcake cookies, it’s easy to make a few common missteps. One mistake is ignoring the importance of room temperature ingredients! Cold butter or eggs can hinder your mixing process, leading to uneven dough. Also, be cautious with food coloring—too much can alter the taste. For guidance on baking times, you can often refer to trusted sources like The Kitchn or Serious Eats for precision.
With these tips, you’ll be well on your way to baking perfect red velvet cupcake cookies that are sure to impress!
Serving Suggestions for Red Velvet Cupcake Cookies
Pairing Ideas for Your Cookies
When it comes to red velvet cupcake cookies, the right accompaniments can elevate your treat to another level. Try serving them with a side of cream cheese frosting for that classic red velvet flavor. Pairing with a tall glass of cold milk or a sweetened iced coffee makes for a delightful afternoon snack. For a bit of texture, consider adding chopped pecans or walnuts on top, which not only enhance the flavor but also bring in an extra crunch. If you’re feeling adventurous, why not pair your cookies with fresh berries? Their tartness can balance the sweetness perfectly!
Creative Ways to Present Your Cookies
Presentation is key to making your red velvet cupcake cookies the star of any gathering. Stack them in a clear glass jar or an elegant cake stand to showcase their rich color. Consider wrapping individual cookies in pretty cellophane bags tied with a satin ribbon for a personal touch—perfect for gifts! You could even make a dessert platter, featuring your cookies alongside complementary treats like chocolate truffles or cheesecake bites. For tips on styling desserts beautifully, check out styling ideas here. Let your creativity shine and impress your guests!
Time Breakdown for Red Velvet Cupcake Cookies
Preparation Time
When it comes to whipping up a batch of delicious red velvet cupcake cookies, set aside about 10 to 15 minutes for preparation. This includes gathering ingredients and mixing everything to perfection. If you love baking, you know how therapeutic it can be to measure flour and whisk eggs!
Baking Time
Once your cookie dough is ready, pop those beauties in the oven for about 10-12 minutes. Keep an eye on them—nobody likes an overbaked cookie! Trust me, this is the hardest part—waiting for that magical aroma to fill your kitchen.
Total Time
In total, you’re looking at around 30 minutes from start to finish, which means in no time at all, you’ll be savoring those delightful red velvet cupcake cookies. Ready to indulge? Happy baking! If you want tips on baking time adjustments, check out resources like King Arthur Baking for expert insights.
Nutritional Information for Red Velvet Cupcake Cookies
Calories
If you’re indulging in red velvet cupcake cookies, the calorie count per cookie is typically around 100-150 calories, depending on your specific recipe and portion size. While this treats your sweet tooth, it’s always good to enjoy them in moderation!
Sugar Content
These delightful cookies often contain about 10-15 grams of sugar each. It’s essential to be mindful of your overall sugar intake, especially if you’re keeping an eye on your health. For alternatives, consider using natural sweeteners like honey or agave.
Dietary Considerations
When it comes to dietary needs, these cookies can easily be adapted for various dietary lifestyles. Simple swaps like gluten-free flour can cater to gluten sensitivities, and using natural sweeteners can help reduce refined sugar intake. Always check your specific ingredients to meet your needs, and if you’re looking for ideas, resources like the American Heart Association are invaluable for healthy eating tips.
Red velvet cupcake cookies can provide a sweet moment of joy while still letting you maintain a balanced diet!
FAQs about Red Velvet Cupcake Cookies
How do I store my red velvet cupcake cookies?
To keep your red velvet cupcake cookies fresh and delicious, store them in an airtight container. You can leave them at room temperature for up to four days. However, if you’re looking to keep them for a longer period, consider placing them in the fridge. Just make sure to let them come to room temperature before serving for the best taste and texture. For added fun, you can layer them with parchment paper to avoid sticking and maintain that perfect frosting!
Can I freeze these cookies for later?
Absolutely! Freezing your red velvet cupcake cookies is a fantastic way to extend their shelf life. Simply place the cooled cookies in a single layer on a baking sheet and freeze until firm. Once hardened, transfer them to a freezer-safe bag or container, where they can last up to three months. When you’re ready to enjoy them, just thaw them at room temperature and frosty as desired.
What’s the best way to make my frosting fluffy?
Fluffy frosting is the crowning glory of any red velvet cupcake cookie. Start with room-temperature cream cheese or butter, as this helps achieve that light texture. Beat your frosting ingredients for at least 5-7 minutes, incorporating air and ensuring every component is well mixed. If you want to go the extra mile, be sure to add a splash of milk or cream while mixing to achieve that silky finish. Want tips from the experts? Check out renowned baking sites like The Spruce Eats for more tricks!
Feel free to dive deeper into your baking journey, and relish each bite of these delightful cookies!
Conclusion on Red Velvet Cupcake Cookies
Why You Should Try Making These Cookies Today!
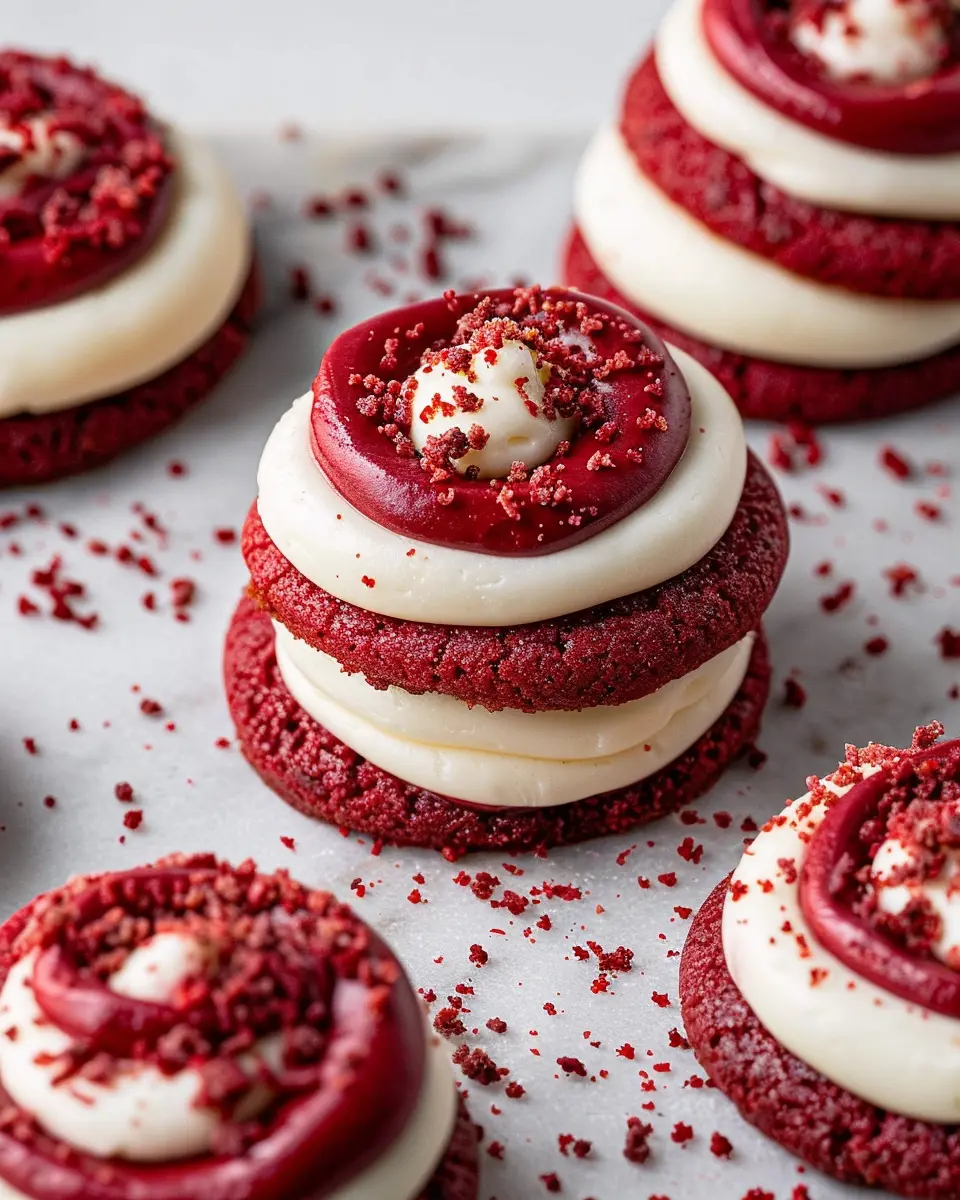
If you’re looking for a delightful treat that combines the classic flavors of red velvet cupcakes with the fun and convenience of cookies, these red velvet cupcake cookies are a must-try! The rich chocolatey undertones and signature cream cheese frosting truly elevate any occasion, from casual gatherings to fancy celebrations. Plus, the vibrant color is sure to impress your guests.
By making these cookies, you not only satisfy your sweet tooth but also create memorable moments in the kitchen. So gather your ingredients and get ready to experience the joy of baking with these fun, delicious cookies that everyone will adore! After all, who can resist the appeal of a red velvet treat? For more baking tips and tricks, check out King Arthur Baking or Food52!
PrintRed Velvet Cupcake Cookies: The Best Indulgent Treat at Home

Indulge in the rich and decadent flavors of Red Velvet Cupcake Cookies. These delightful treats combine the classic taste of red velvet cake with the convenience of a cookie, making them perfect for any occasion.
- Prep Time: 15 minutes
- Cook Time: 12 minutes
- Total Time: 27 minutes
- Yield: 24 cookies
- Category: Desserts
- Method: Baking
- Cuisine: American
- Diet: Vegetarian
Ingredients
- 2 cups all-purpose flour
- 1 cup granulated sugar
- 1/2 cup unsweetened cocoa powder
- 1 teaspoon baking soda
- 1/2 teaspoon salt
- 1 cup unsalted butter, softened
- 1 large egg
- 1 tablespoon red food coloring
- 1 teaspoon vanilla extract
- 1/2 cup cream cheese, softened
- 1 cup powdered sugar
Instructions
- Preheat your oven to 350°F (175°C) and line a baking sheet with parchment paper.
- In a bowl, mix the flour, sugar, cocoa powder, baking soda, and salt.
- In another bowl, beat the butter until creamy, then add the egg, food coloring, and vanilla. Mix well.
- Gradually add the dry ingredients to the wet ingredients, and mix until combined.
- Drop spoonfuls of dough onto the baking sheet and bake for 10-12 minutes.
- Let the cookies cool completely before frosting.
- To make the frosting, beat the cream cheese and powdered sugar together until smooth and creamy.
- Frost the cooled cookies with the cream cheese frosting.
Notes
- For a richer chocolate flavor, use dark cocoa powder.
- These cookies can be frozen for up to 2 months.
Nutrition
- Serving Size: 1 cookie
- Calories: 180
- Sugar: 12g
- Sodium: 100mg
- Fat: 8g
- Saturated Fat: 5g
- Unsaturated Fat: 2g
- Trans Fat: 0g
- Carbohydrates: 22g
- Fiber: 1g
- Protein: 2g
- Cholesterol: 30mg

")